Wellington Decorators provides professional interior house painting across the Wellington region. As Registered Master Painters and Resene Eco Decorators, we use premium Resene and Dulux paints backed by a 5-year workmanship guarantee. Our service includes free colour consultation, thorough surface preparation, and expert finishing for walls, ceilings, trim, and feature walls.
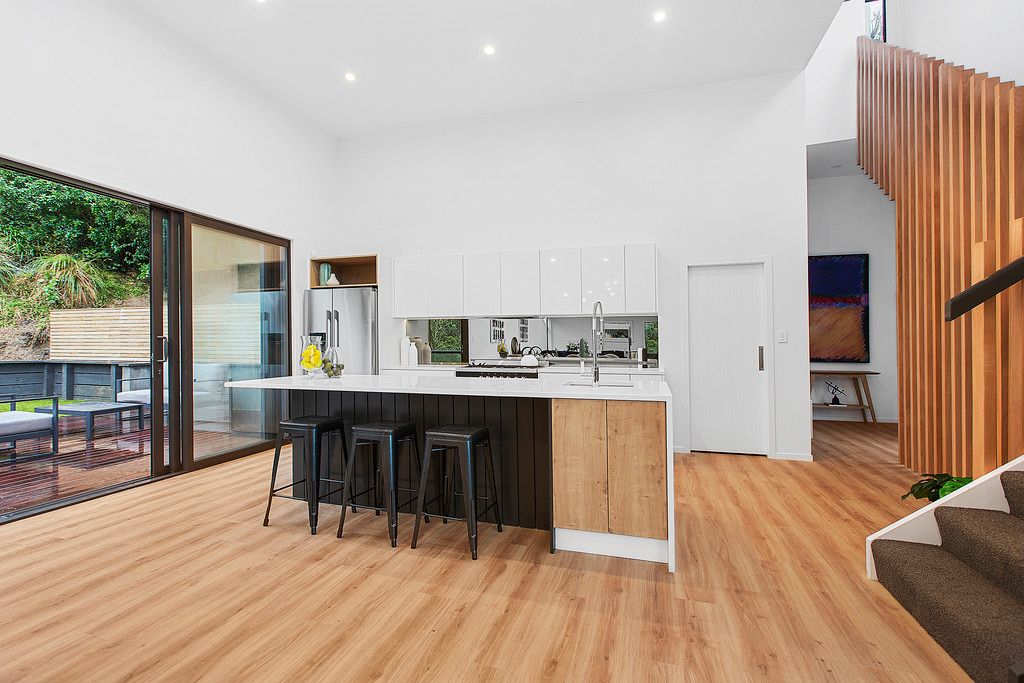
Interior House Painting
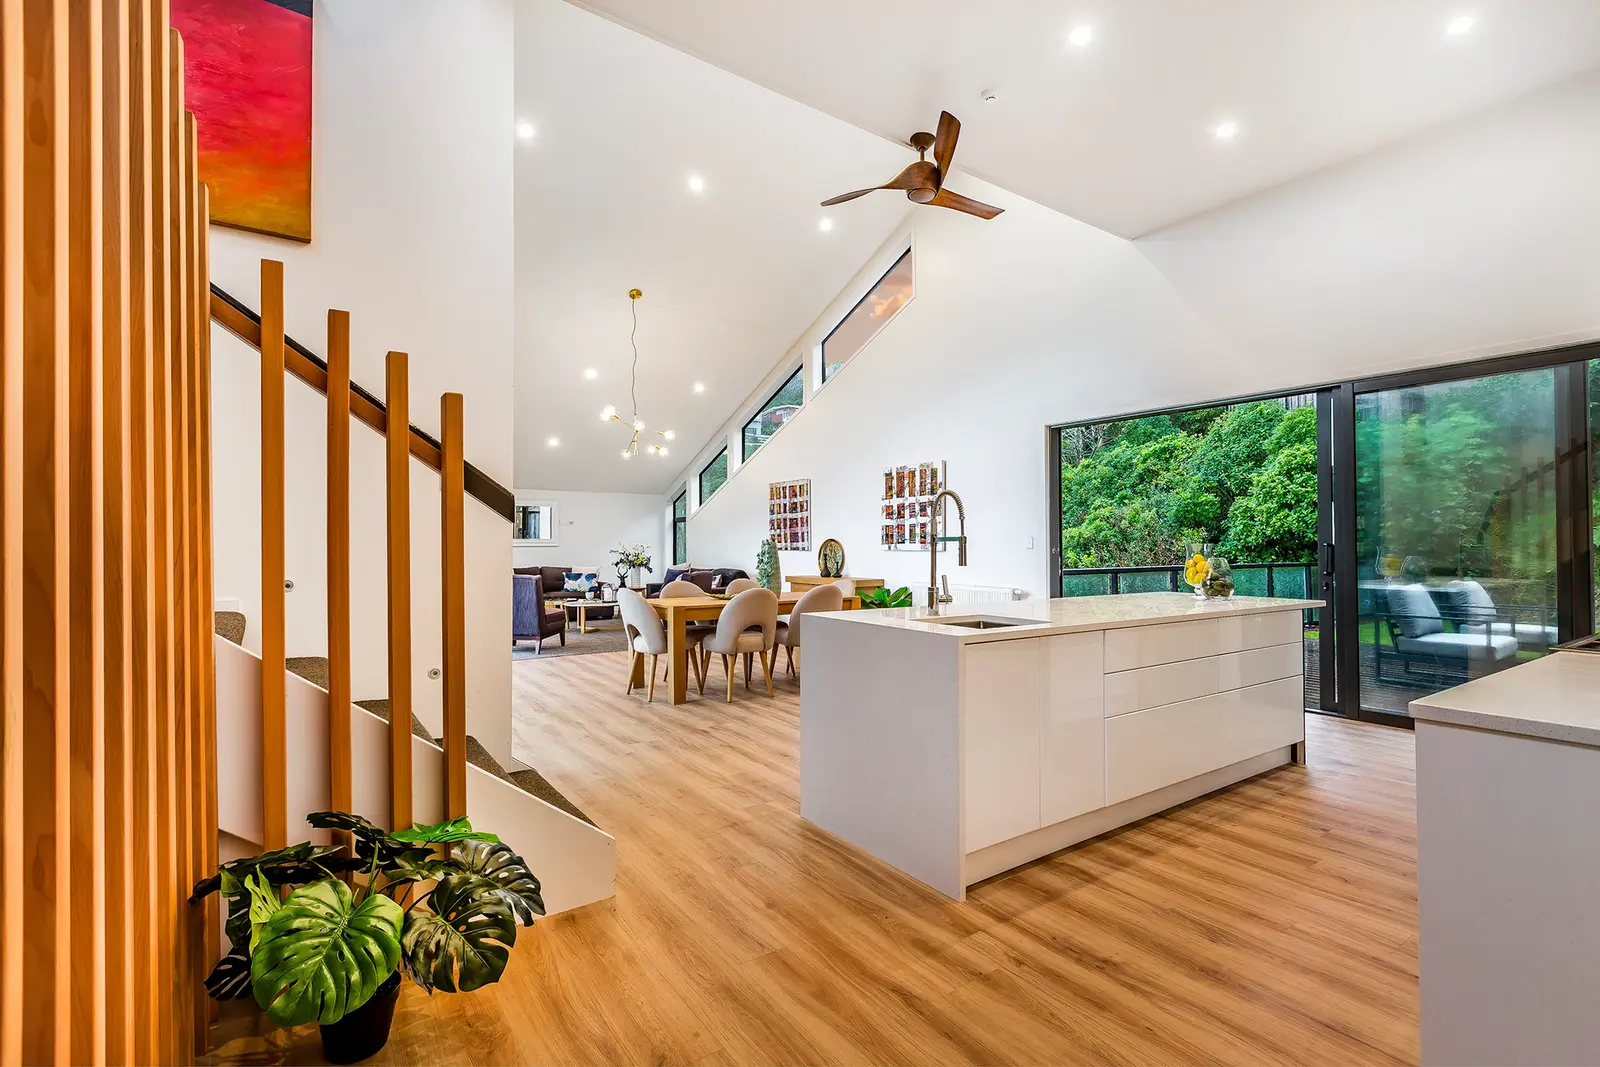
Professional interior painting services throughout Wellington with premium quality products and a 5-year workmanship guarantee.
- ✓ Registered Master Painters
- ✓ 5-Year Workmanship Guarantee
- ✓ Premium Resene & Dulux Paints
- ✓ Free Colour Consultation ($250 value)
- ✓ Free Touch-up Guarantee
What We Guarantee
Our commitment to quality is reflected in everything we do.
Why Choose Our Interior Painters
When our founder Khai Do started painting interiors as a 17-year-old apprentice, he learned something that still drives our work today: the inside of your home is where life happens, and it deserves to look its best. That attention to detail — built up over a career in the trade since 2008 — became the foundation of Wellington Decorators, and it's the same care we bring to every interior project across the Wellington region.
Interior painting is more than just putting colour on walls. It's about understanding how light moves through your rooms, which finishes work best for your family's lifestyle, and getting the preparation right so the result lasts for years. Our team of skilled painters specialise in interior work throughout Wellington, using only premium Resene and Dulux products that we trust to perform.
Every project gets a dedicated project manager who runs the job from the first drop sheet to the final walkthrough. We set realistic timelines and stick to them, because we know having painters in your home is disruptive and you want it done well and on time. That's why we back our work with a Master Painters 5-Year Workmanship Guarantee and offer free consultations and quotes with no pressure.
Our Commitment to Quality
As Registered Master Painters and Resene Eco Decorators, we stand behind every interior painting job with our 5-Year Workmanship Guarantee. Our team uses only premium quality products from trusted brands like Resene and Dulux to ensure a durable, beautiful finish that lasts. We set realistic deadlines and always honour our commitments. If any issues arise after completion that are caused by our workmanship, we provide a free touch-up service at no extra cost.
Our Interior Painting Process
Every interior job runs through the same six steps — it's how we keep the finish consistent from a single bedroom to a whole house:
- Free Consultation & Quote: We visit your home to assess the scope of work, discuss your vision, and provide a detailed written quote at no cost.
- Colour Selection: Take advantage of our free colour consultation (valued at $250). Our team helps you choose the perfect palette using Resene and Dulux colour charts, considering natural light, room size, and your personal style.
- Surface Preparation: We thoroughly clean walls, fill cracks and holes, sand rough areas, and apply primer where needed. Proper preparation is the foundation of a lasting finish.
- Protection & Setup: Floors, furniture, and fixtures are carefully covered with drop sheets. We tape off edges and trim for clean, sharp lines.
- Painting: Using premium Resene or Dulux paints, we apply an undercoat followed by two topcoats for full, even coverage. Ceilings, walls, trim, and feature walls are all finished to our high standard.
- Final Inspection & Touch-up: We conduct a detailed walkthrough with you to ensure every surface meets your expectations. Any touch-ups are completed before we consider the job done.
What We Paint
Our interior painting services cover every room and surface in your Wellington home:
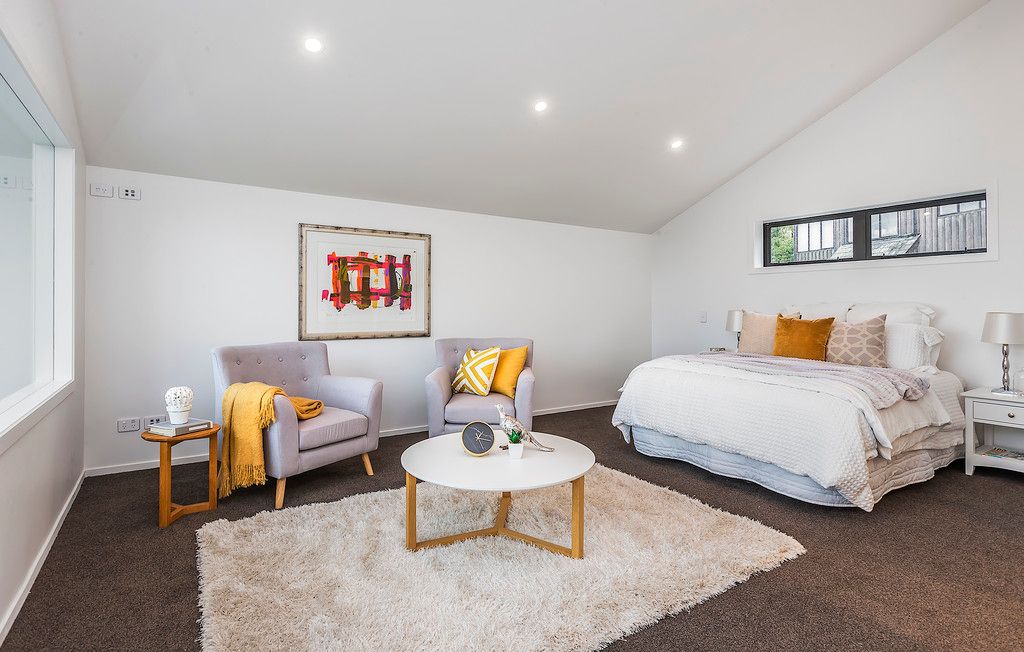
- Living areas & bedrooms: Walls, ceilings, and feature walls in colours that suit your lifestyle
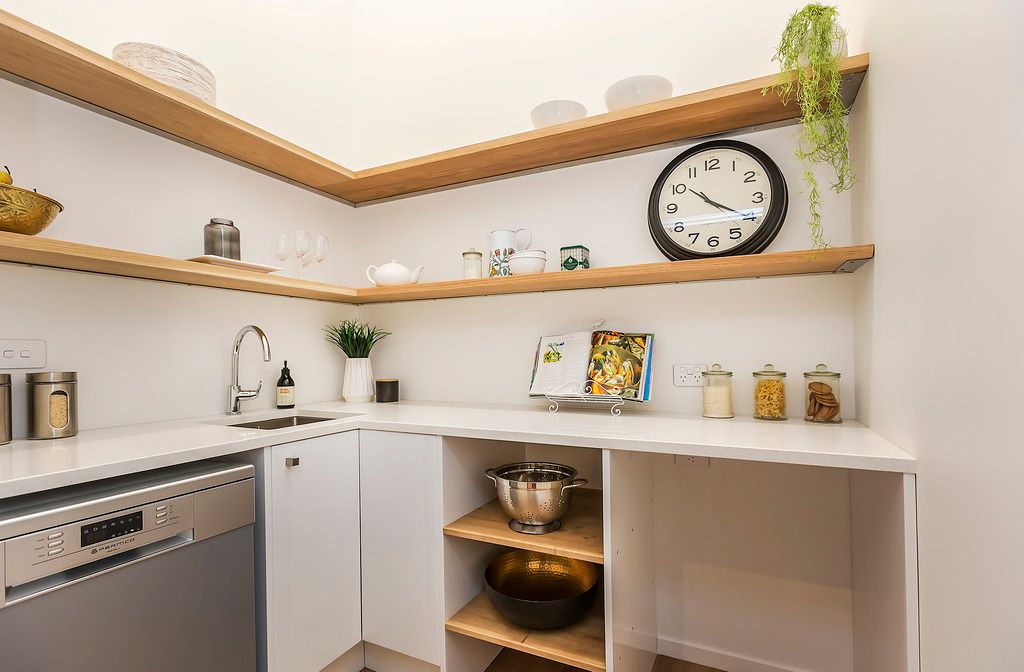
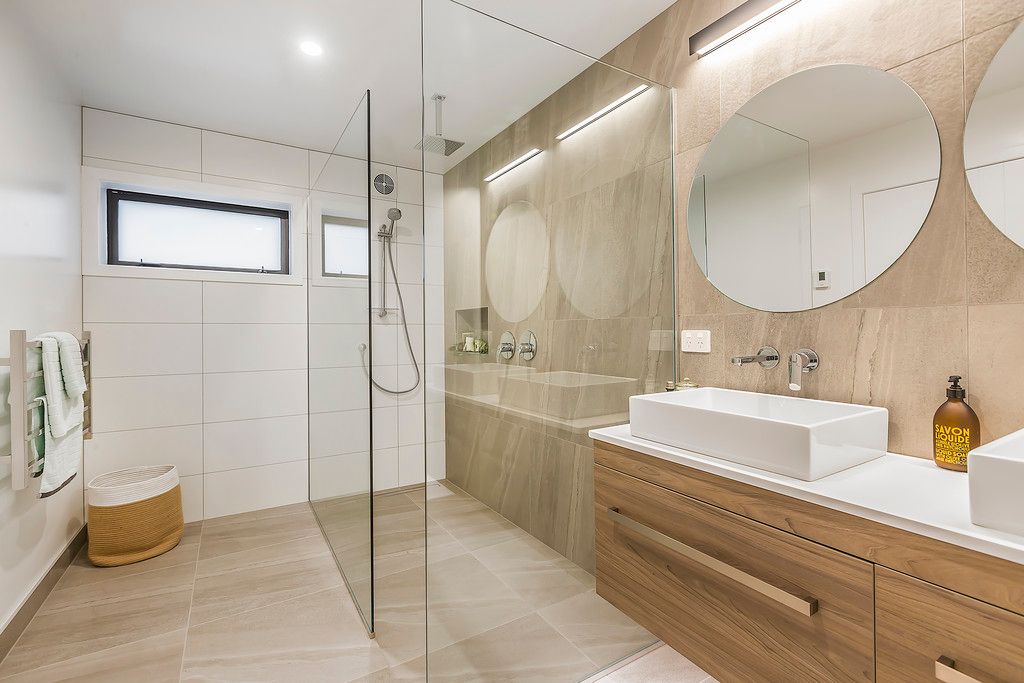
- Kitchens & bathrooms: Moisture-resistant paints designed for high-humidity environments
- Hallways & stairwells: Durable finishes for high-traffic areas
- Doors, architraves & skirting boards: Precise trim work for a polished finish
- Ceilings: Flat or low-sheen finishes to brighten your rooms
- Feature walls & accent colours: Bold statements or subtle contrasts to define your space
One bedroom or the whole house — we quote it the same way, room by room, so you can see exactly where the money goes and trim the scope to fit your budget. Our team works across Wellington, Lower Hutt, Upper Hutt, Porirua, and the Kapiti Coast.
Related Articles
How Much Does It Cost to Paint a House in NZ?
Comprehensive pricing guide for residential painting in the Wellington region
Read Guide →Inside House Painting Wellington
Professional interior painting services for Wellington homes
Read Guide →Ceiling Painting Wellington
Professional ceiling painting services in Wellington
Read Guide →Hallway Painting Wellington
Expert hallway painting for Wellington homes
Read Guide →Kitchen Painting Wellington
Painting kitchens: surfaces, moisture-resistant paints, and costs
Read Guide →Interior Painting vs Wallpaper
Comparing interior paint and wallpaper for Wellington homes
Read Guide →Touch Up Walls Without Full Repaint
Expert tips on touching up walls without repainting everything
Read Guide →Bathroom Painting Wellington
Moisture-proof painting solutions for Wellington bathrooms
Read Guide →Bedroom Painting Wellington
Create the perfect bedroom with professional painting
Read Guide →Living Room Painting Wellington
Colour, sheen, and prep advice for living room repaints
Read Guide →Interior Paint Colours 2026
Trending interior paint colours for Wellington homes in 2026
Read Guide →Interior Painting Cost Calculator
Estimate your interior painting costs in Wellington
Read Guide →Interior Painting DIY Tips
Helpful tips for DIY interior painting in Wellington
Read Guide →House Painting Costs Wellington
Complete breakdown of house painting costs in Wellington
Read Guide →Oil-Based vs Water-Based Paints
Understanding the key differences between paint types
Read Guide →Paint Calculator per Square Metre
Calculate exactly how much paint you need for any room
Read Guide →Popular Resene Colours Wellington
The most popular Resene paint colours chosen by Wellington homeowners
Read Guide →Resene Interior Colours
Explore Resene's interior colour range for your home
Read Guide →Resene Paint Types Explained
Guide to understanding the different Resene paint types and finishes
Read Guide →Painting Inside Walls Like a Pro
Professional tips for painting interior walls to a flawless finish
Read Guide →Things to Keep in Mind
Interior House Painting Considerations
Colour Selection
Test in different lighting
Test colours in different lighting as natural and artificial light can change how colours look throughout the day.
Surface Preparation
Repair before painting
Cracks, nail holes, stains, and damaged areas should be repaired before painting to achieve a smooth, long lasting finish.
Paint Finish
Choose the right sheen
Different areas require different finishes. Low sheen or matte for living areas, semi gloss for trims, and moisture resistant paint for kitchens and bathrooms.
Furniture and Protection
Prepare your space
Furniture should be moved away from walls, and floors, fittings, and fixtures need to be properly protected during painting.

Drying and Curing Time
Allow adequate time
Allow enough time between coats and before using the room to ensure the paint cures properly and avoids marks or damage.
Ventilation
Good airflow helps
Good airflow helps paint dry faster and reduces odour, especially in enclosed spaces.
Existing Damage or Stains
Special treatment needed
Water stains, smoke damage, or mould may require special primers or treatment before painting.
Professional Finish
Quality results matter
A professional painter ensures even coverage, clean edges, and attention to detail that makes a lasting difference to your home's appearance.
Common Questions
Find answers to frequently asked questions about our interior painting services.
What warranty do you offer on interior painting work?
Master Painters 5-Year Workmanship Guarantee plus free touch-up guarantee for any workmanship issues.
Do you offer colour consultation services?
Yes, free colour consultation valued at $250 using Resene and Dulux colour charts, considering natural light, room size, and personal style.
What brands of paint do you use for interior projects?
Premium quality paints from Resene and Dulux, including low-VOC and eco-friendly options safer for families, children, and pets.
How long does an interior painting project typically take?
A few days to one week, depending on area size, preparation required, and drying time between coats.
Can I stay in my home while the interior painting is being done?
Yes, we work room by room so you can continue living comfortably. Low-VOC paints with minimal odour and good ventilation throughout.
What preparation work is included in your interior painting service?
Cleaning walls, filling cracks and holes, sanding rough areas, applying primer where needed, and protecting floors, furniture, and fixtures with drop sheets.
Do you repair walls before painting?
Yes, minor repairs including small cracks, nail holes, and dents are included in standard preparation. Major repairs discussed and quoted separately.
What areas of Wellington do you service?
Wellington, Lower Hutt, Upper Hutt, Porirua, and Kapiti Coast.
What Our Clients Say
"We were so pleased with the job that Khai and his team did on painting the exterior of our house. Great attention to detail and excellent communication. Would highly recommend them."

"Khai and his team are amazing. They painted my house beautifully! Everything they said they would do has been done. They work hard and pay attention to detail. Khai is super organised and I have appreciated his clear and timely communication. These are good people!"

"We were very pleased with their approach to the job, the workmanship, and the tidy manner in which the work was done. Would have no hesitation in recommending them to further customers."

Explore Our Other Services
Discover our complete range of professional painting services.
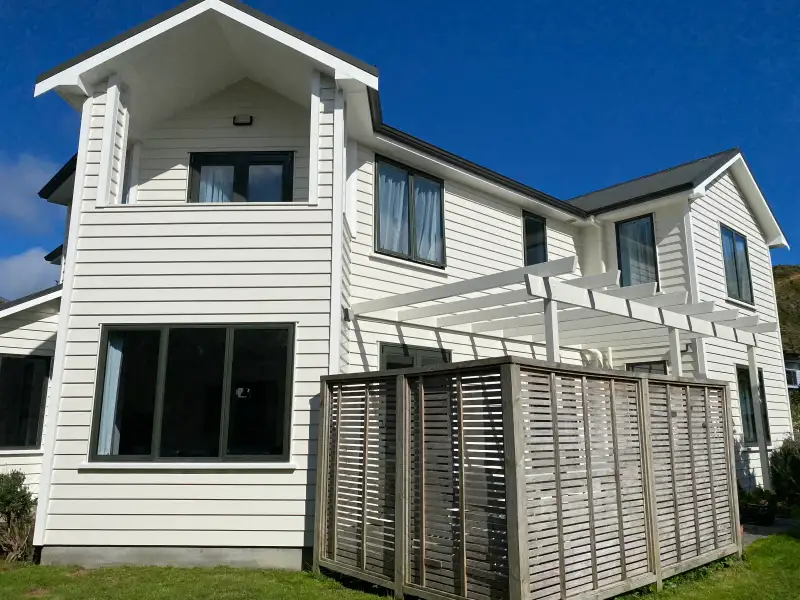
Exterior House Painting
Weatherproof protection that suits your street
Learn More →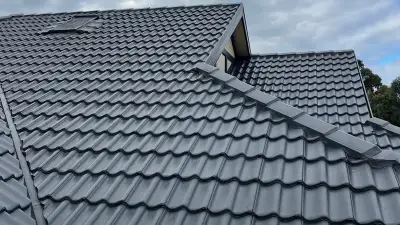
Roof Painting
Extend the life of your roof with quality coatings
Learn More →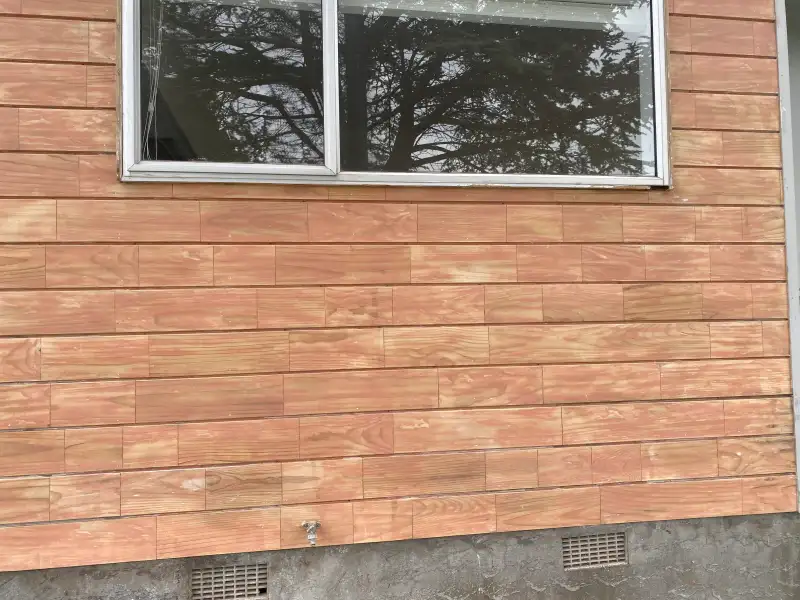
Paint Stripping
Expert removal for a fresh start
Learn More →
Plastering & GIB Stopping
Smooth surfaces for perfect paint application
Learn More →
Wood Staining
Enhance the natural beauty of wood
Learn More →Ready to Repaint Your Interior
Get a free quote from Wellington's trusted interior painting professionals