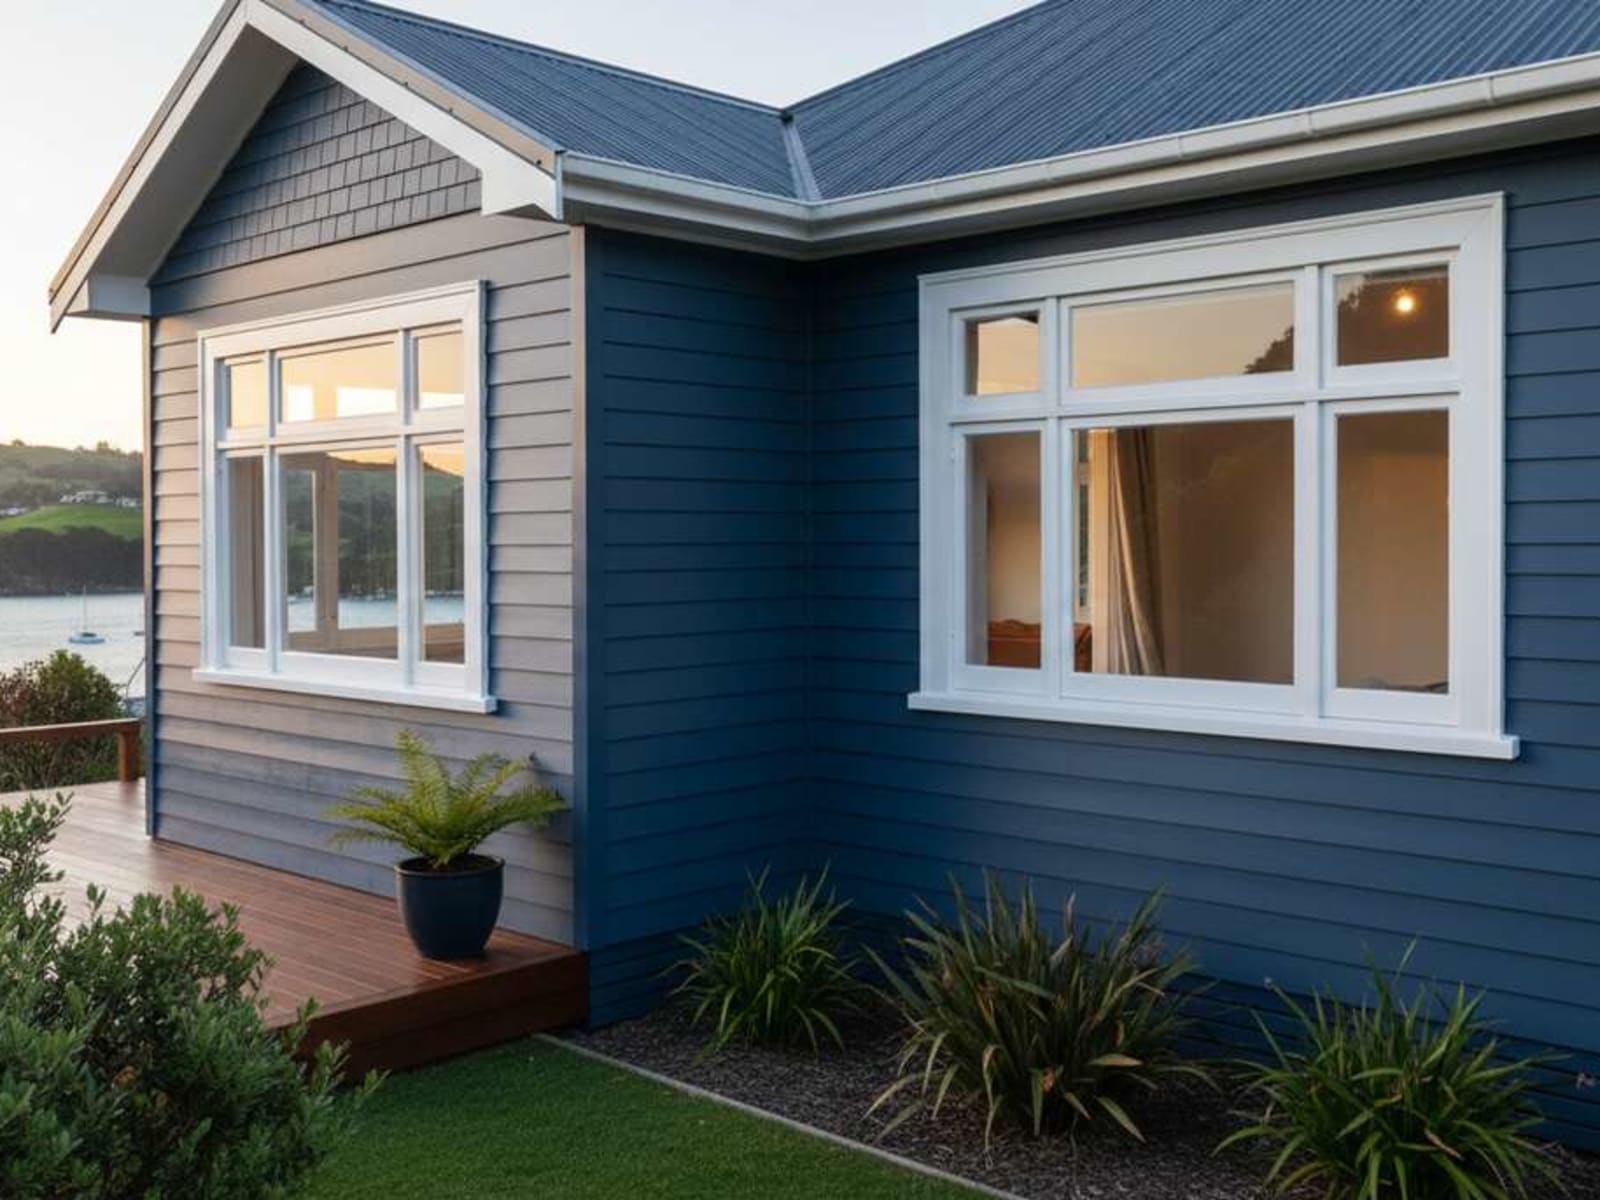
Weatherboard homes dominate Wellington's housing stock — from heritage villas to mid-century bungalows to modern designs. These timber cladding systems need regular painting to protect against our harsh coastal climate.
This guide covers everything about weatherboard painting specific to Wellington conditions, from addressing common problems to choosing paint systems that last.
Understanding Weatherboard Construction
Weatherboards (called clapboard or lap siding internationally) are horizontal timber boards overlapping to shed water. Common types in Wellington include:
Bevel-back weatherboards: Traditional profile with tapered thickness. Found on most pre-1980s homes. Typically 150mm or 180mm coverage width.
Shiplap weatherboards: Rabbeted edge creates tight overlap. Common on 1920s-1950s homes. Good weather resistance when properly maintained.
Rusticated weatherboards: Decorative profile with shadow line. Popular on villas and character homes. Challenging to paint due to profile complexity.
Modern weatherboards: Engineered profiles optimized for painting. Often pre-primed. Found on 1990s+ homes.
Material varies too. Rimu and matai dominate heritage homes. Pine became standard from 1950s onward. Modern homes may use treated pine or engineered timber products.
Each type presents different painting challenges and opportunities.
Common Weatherboard Problems in Wellington
Wellington's climate causes specific weatherboard issues that must be addressed before painting.
Moisture Damage and Rot
South-facing walls rarely dry completely. Persistent moisture causes timber decay, particularly where weatherboards meet window frames, at board ends near corners, and on horizontal surfaces like window sills.
Check for soft, spongy timber using a screwdriver or probe. Rotten boards must be replaced, not painted over. Paint can't protect compromised timber.
Ground contact accelerates rot. Weatherboards should stop 150mm+ above ground level. Lower boards on older homes often need replacement.
Paint Failure Patterns
Alligatoring: Cracked paint resembling reptile skin. Indicates aged paint that has lost flexibility. Requires complete removal before repainting.
Peeling and flaking: Paint loses adhesion and lifts off. Caused by moisture trapped under paint film, poor surface preparation, or incompatible paint systems.
Chalking: Paint surface powders when rubbed. Normal aging process but excessive chalking indicates paint failure. Surface must be washed thoroughly before repainting.
Blistering: Bubbles form under paint film. Caused by painting over wet timber or applying paint in direct sun when surface is too hot.
Mould and Mildew Growth
Sheltered areas — under eaves, behind vegetation, south-facing walls — grow mould readily in Wellington humidity.
Black or green surface growth must be killed before painting. Paint applied over active mould fails within months as mould continues growing underneath.
Tannin Bleed and Staining
Native timbers like rimu contain tannins that bleed through paint as brown streaks, particularly when moisture is present. Knots in pine weatherboards also bleed tannins.
Stain-blocking primer prevents bleed-through but must be applied to bare timber before topcoats.
Board Movement and Gaps
Weatherboards expand and contract with moisture and temperature changes. This movement opens gaps at board ends, around nail holes, and where boards meet trim.
Gaps allow water penetration causing rot. Flexible gap fillers accommodate movement while sealing against moisture.
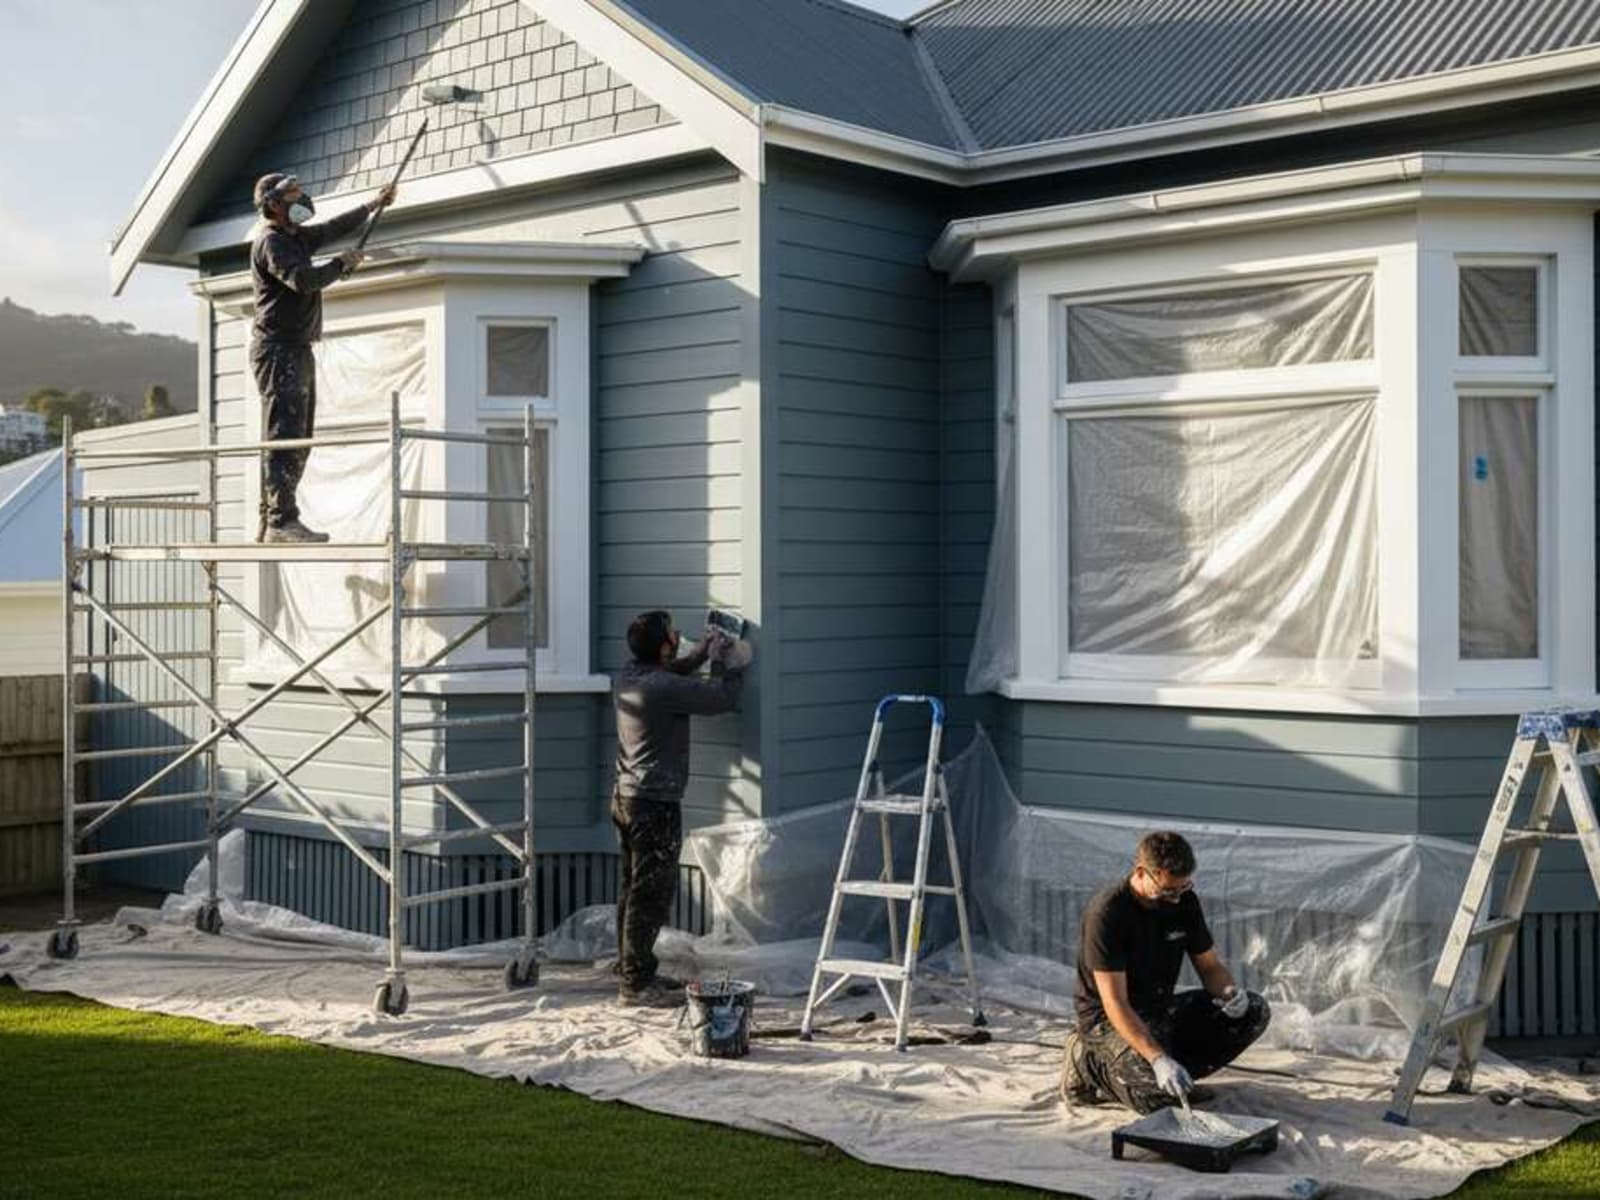
Weatherboard Preparation Process
Proper preparation determines paint longevity. Shortcuts here guarantee early failure.
Step 1: Inspection and Assessment
Walk the entire house perimeter noting problem areas:
- Rotten or damaged boards requiring replacement
- Failed paint needing removal
- Mould growth areas
- Gaps and cracks needing filling
- Weatherboard nails pulling out
- Loose or missing boards
Photograph issues for quotes and reference.
Step 2: Repairs and Replacement
Replace damaged weatherboards before proceeding. Single board replacement costs $150-250 per board including materials and labour. Extensive replacement significantly increases project cost.
Match timber species and profile to existing boards. Heritage homes may need specialty milling to match original profiles — add time and cost.
Secure loose boards with ring shank nails. Countersink nail heads slightly and fill with flexible filler.
Step 3: Mould Treatment
Kill mould before water blasting using oxygen bleach solution (not chlorine bleach which damages timber):
- Mix oxygen bleach per manufacturer instructions
- Apply with garden sprayer to affected areas
- Allow 15-20 minutes contact time
- Scrub stubborn areas with soft brush
- Rinse thoroughly
Commercial mould treatments like Resene Moss & Mould Killer work well but cost more than oxygen bleach.
Step 4: Water Blasting
High-pressure washing (2000-3000 PSI) removes loose paint, dirt, mould spores, and salt deposits.
Technique matters. Hold nozzle 300-400mm from surface at 45-degree angle. Work systematically from top to bottom. Avoid holding nozzle too close — excessive pressure damages timber grain.
Pay attention to overlap areas between weatherboards where dirt accumulates.
Step 5: Drying Time
Critical step often rushed. Timber must dry to below 15% moisture content before painting. Wellington's humidity means 3-5 days minimum drying time after water blasting. South-facing walls may need 7 days.
Professional painters use moisture meters to verify readiness. Painting wet timber traps moisture causing paint to blister and peel within months.
Step 6: Scraping and Sanding
Remove remaining loose paint by hand scraping. Pull scrapers along grain direction, not across. Avoid gouging timber.
Sand edges of intact paint to feather transition between painted and bare areas. This prevents visible edges showing through topcoats.
Power sanding speeds work but risks damaging timber if inexperienced. Hand sanding is safer for DIY work.
Step 7: Filling and Sealing
Fill gaps, cracks, and nail holes with flexible exterior filler. Standard fillers crack as weatherboards move — use products rated for timber movement.
Caulk gaps between weatherboards and trim using paintable exterior caulk. Don't caulk along bottom edge of weatherboards — these need to drain.
Step 8: Priming
Prime all bare timber before topcoating. Primer selection depends on timber condition:
Stain-blocking primer (Resene Quick Dry): Use on rimu, matai, or knotty pine. Prevents tannin bleed-through. Essential for weatherboards showing previous staining.
Adhesion primer (Resene Broadwall Primer): Helps paint bond to aged paint still in good condition. Not suitable for bare timber.
Standard acrylic primer (Resene Primer & Undercoat 120): General purpose primer for sound pine weatherboards.
Prime within 48 hours of sanding/filling to prevent moisture absorption.
Best Paint Systems for Wellington Weatherboards
Paint selection significantly affects longevity. Premium systems cost more upfront but last twice as long as budget alternatives.
Recommended Resene Systems
Premium Option: Resene Sonyx 101
- Self-priming advanced acrylic
- Excellent durability in Wellington conditions (10-15 year lifespan)
- Low sheen finish hides surface imperfections
- Superior moisture handling
- Higher cost justified by longevity
Mid-Range Option: Resene Lumbersider
- Water-based mid-sheen
- Good durability (8-12 years in Wellington)
- Easier to apply than Sonyx 101
- More forgiving for touch-ups
- Better value for properties repainted regularly
Trim and Details: Resene Hi-Glo
- High-gloss waterborne enamel
- Hard-wearing finish for doors, window frames, fascias
- Easy to clean
- Highlights architectural details
- Requires excellent surface preparation
Oil-Based vs Water-Based
Modern water-based acrylics outperform oil-based paints for weatherboards:
Water-based advantages:
- Better flexibility accommodating timber movement
- Superior UV resistance maintaining colour
- Allows moisture vapour transmission
- Lower VOCs and easier cleanup
- Longer lifespan in Wellington conditions
Oil-based limitations:
- Becomes brittle with age, cracking as boards move
- Yellows over time, particularly on white colours
- Poor moisture vapour transmission traps water
- Strong odour during application
- Longer drying times
Oil-based paints suit only specific applications: steel weatherboards, traditional high-gloss finishes on heritage homes, or matching existing oil-based systems.
Number of Coats
Standard repainting (same or similar colour):
- Primer on bare areas: 1 coat
- Topcoat: 2 coats
- Total coverage: adequate for 8-12 year lifespan
Colour changes (light to dark or dark to light):
- Primer on bare areas: 1 coat
- Topcoat: 3 coats for solid coverage
- Skipping third coat results in patchy appearance
Bare timber (new weatherboards or complete strip):
- Primer: 1 coat
- Topcoat: 2-3 coats depending on colour
- Critical for long-term protection
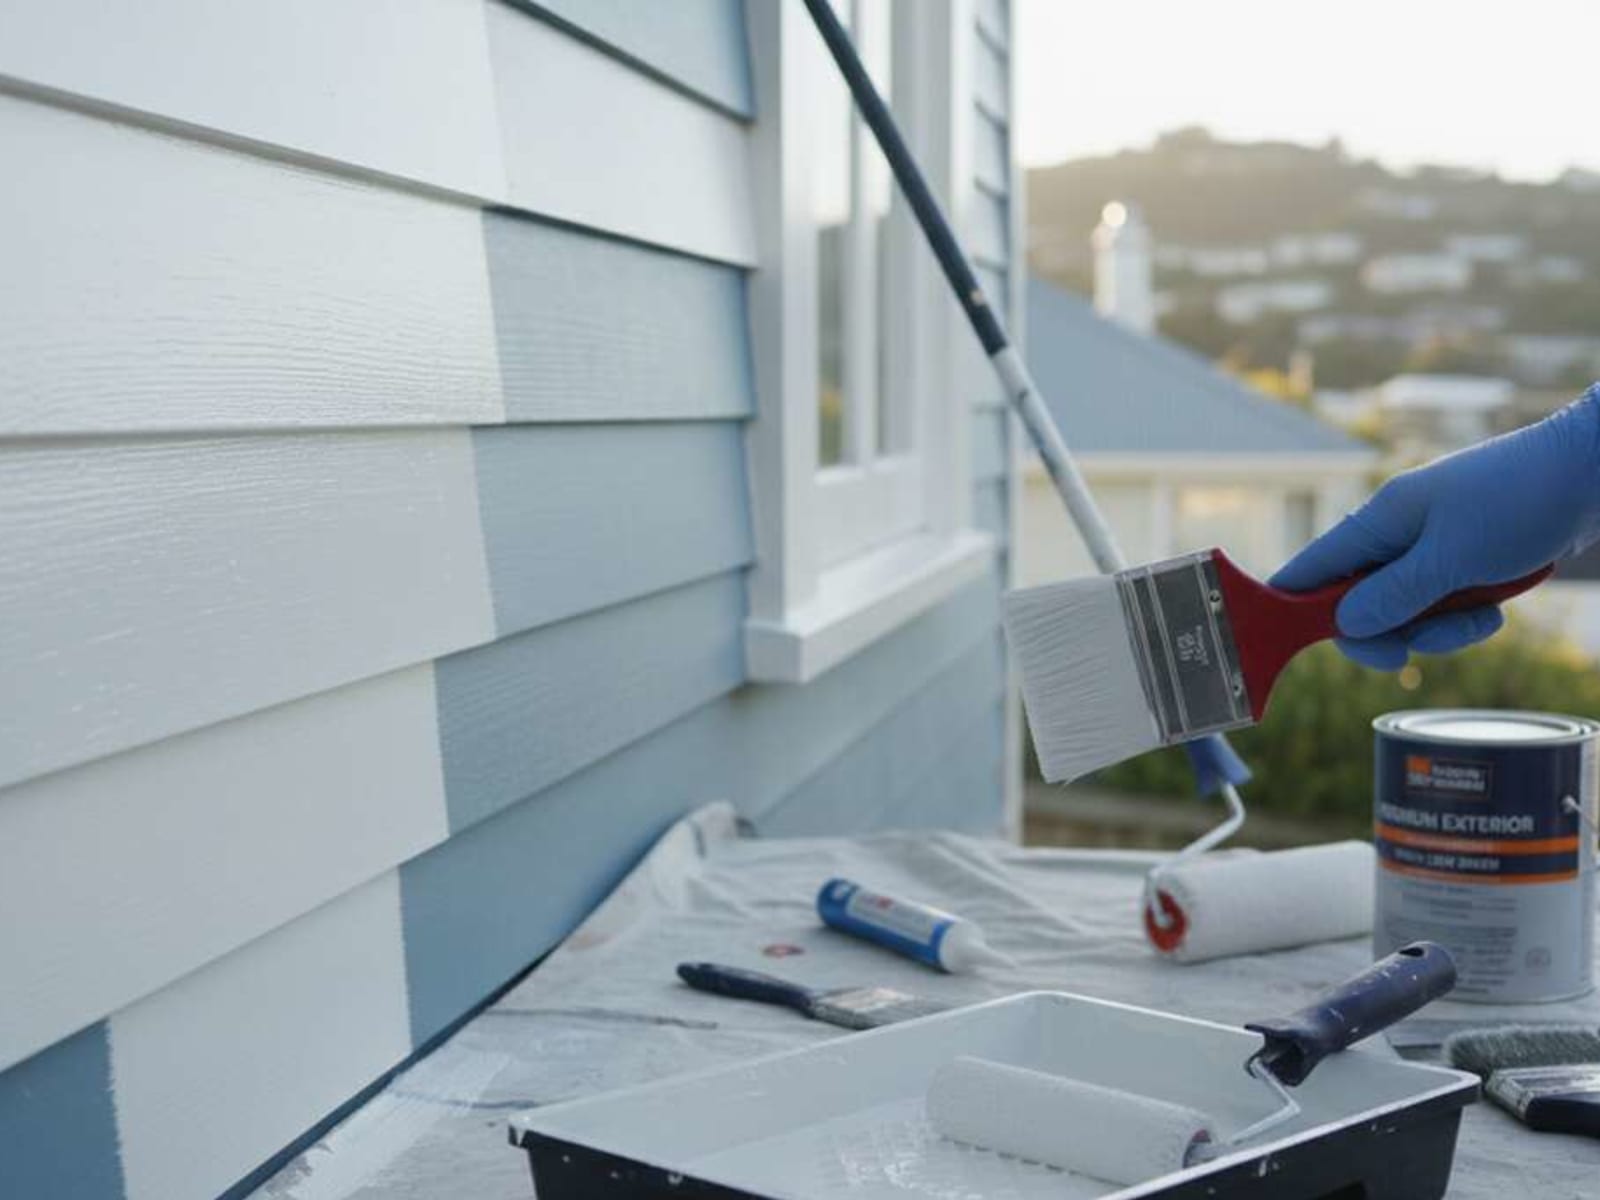
Application Method
Brush and roller (recommended for weatherboards):
- Best coverage into weatherboard profiles
- Works paint into grain for better adhesion
- Allows inspection during application
- Time-tested technique for durable results
Spray application:
- Faster for large areas
- Requires extensive masking
- May not penetrate weatherboard overlap areas adequately
- Overspray waste increases paint consumption
- Best for smooth weatherboards only
Professional painters often combine methods: spray main areas, back-roll for penetration, brush detail areas.
Weatherboard Painting Costs
Wellington weatherboard painting pricing depends on house size, condition, and access:
| Weatherboard Area | Good Condition | Average Condition | Poor Condition |
|---|---|---|---|
| 200-300m² | $8,000-$12,000 | $10,000-$15,000 | $15,000-$22,000 |
| 300-450m² | $14,000-$20,000 | $18,000-$25,000 | $25,000-$35,000 |
| 450-600m² | $22,000-$30,000 | $28,000-$38,000 | $38,000-$50,000 |
Poor condition includes extensive weatherboard replacement, significant rot repair, or paint stripping. See our paint stripping services for heritage weatherboard restoration.
Maintenance Between Paintings
Proper maintenance extends paint life from 10 years to 15+ years.
Annual Inspection (March-April)
Check weatherboards after winter for:
- Paint cracking or peeling (particularly board ends)
- Mould growth on south-facing walls
- Gap opening around windows and doors
- Weatherboard damage from impacts or rot
- Nail pop-outs requiring re-securing
Address small issues promptly before they become major problems.
Cleaning (Every 1-2 Years)
Annual washing removes salt deposits, mould spores, and dirt:
- Water blast on low pressure (1000-1500 PSI)
- Use oxygen bleach for mould-affected areas
- Clean from top to bottom
- Rinse thoroughly
Coastal properties benefit from twice-yearly cleaning to remove salt buildup.
Touch-Up Painting
Keep leftover paint for touching up damaged areas:
- Sand and prime bare spots immediately
- Apply two coats of topcoat
- Feather edges to blend with existing paint
- Regular touch-ups prevent small problems expanding
Vegetation Management
Keep plants 300mm+ from weatherboards. Branches rubbing against painted surfaces wear through paint. Dense vegetation prevents air circulation, encouraging mould growth.
Trim trees before branches contact house. Cut back dense shrubs allowing air flow.
When to Repaint Weatherboards
Full repainting becomes necessary when:
Coverage issues: Touch-ups no longer blend adequately. Paint has faded unevenly. Multiple areas need attention simultaneously.
Surface degradation: Paint chalks heavily when rubbed. Cracking appears across multiple boards. Weatherboards show through worn paint.
Protection failure: Bare timber appears in multiple locations. Weatherboards show early rot signs. Paint no longer repels water effectively.
Time-based: 10-15 years since last complete repaint with premium systems. 6-8 years with budget paint.
Don't wait for extensive failure. Repainting when paint approaches end of life costs less than repairing rot and replacing weatherboards.
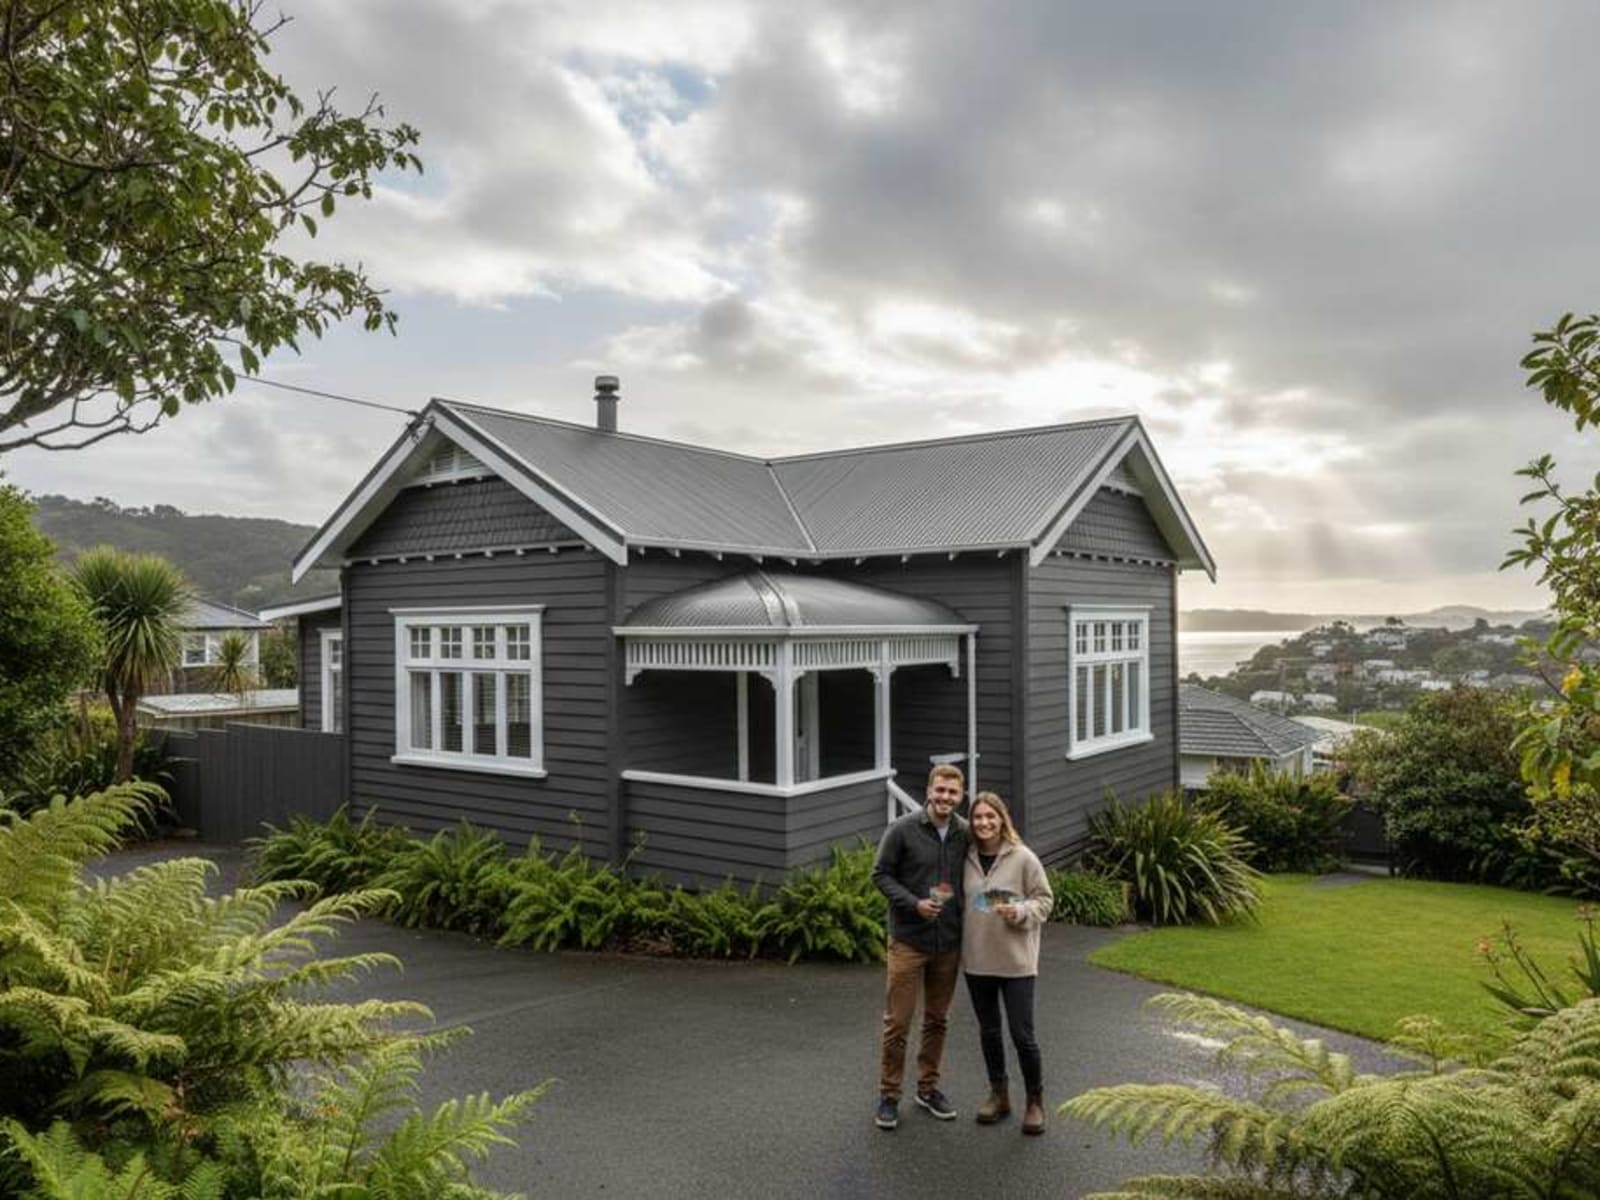
Ready to Get Started?
Weatherboard painting protects your Wellington home from our harsh climate while maintaining appearance and value. Proper preparation, quality paint systems, and expert application ensure results lasting 12-15 years.
Wellington Decorators specializes in weatherboard painting across all eras — from heritage villas to modern homes. As Registered Master Painters using premium Resene systems, we deliver durable results that protect your investment.
Contact us for a detailed weatherboard assessment and fixed-price quote, or learn more about our exterior house painting services.
Wellington Decorators Limited — Registered Master Painters | Resene Eco Decorator
Exterior House Painting | Contact Us
Local Exterior Painting Services
Need exterior painting in your area? We provide professional exterior painting services across Wellington suburbs including Island Bay exterior painting, Brooklyn exterior painting, Wadestown exterior painting, Johnsonville exterior painting. Get a free quote for your project today.
Related Articles


Need Help With Your Painting Project?
Wellington Decorators has been transforming homes across the Wellington region since 2023, led by a founder with 18+ years in the trade. As Registered Master Painters, we back every job with a 5-year workmanship guarantee.
Prefer to talk? Call us now 027 458 6465