
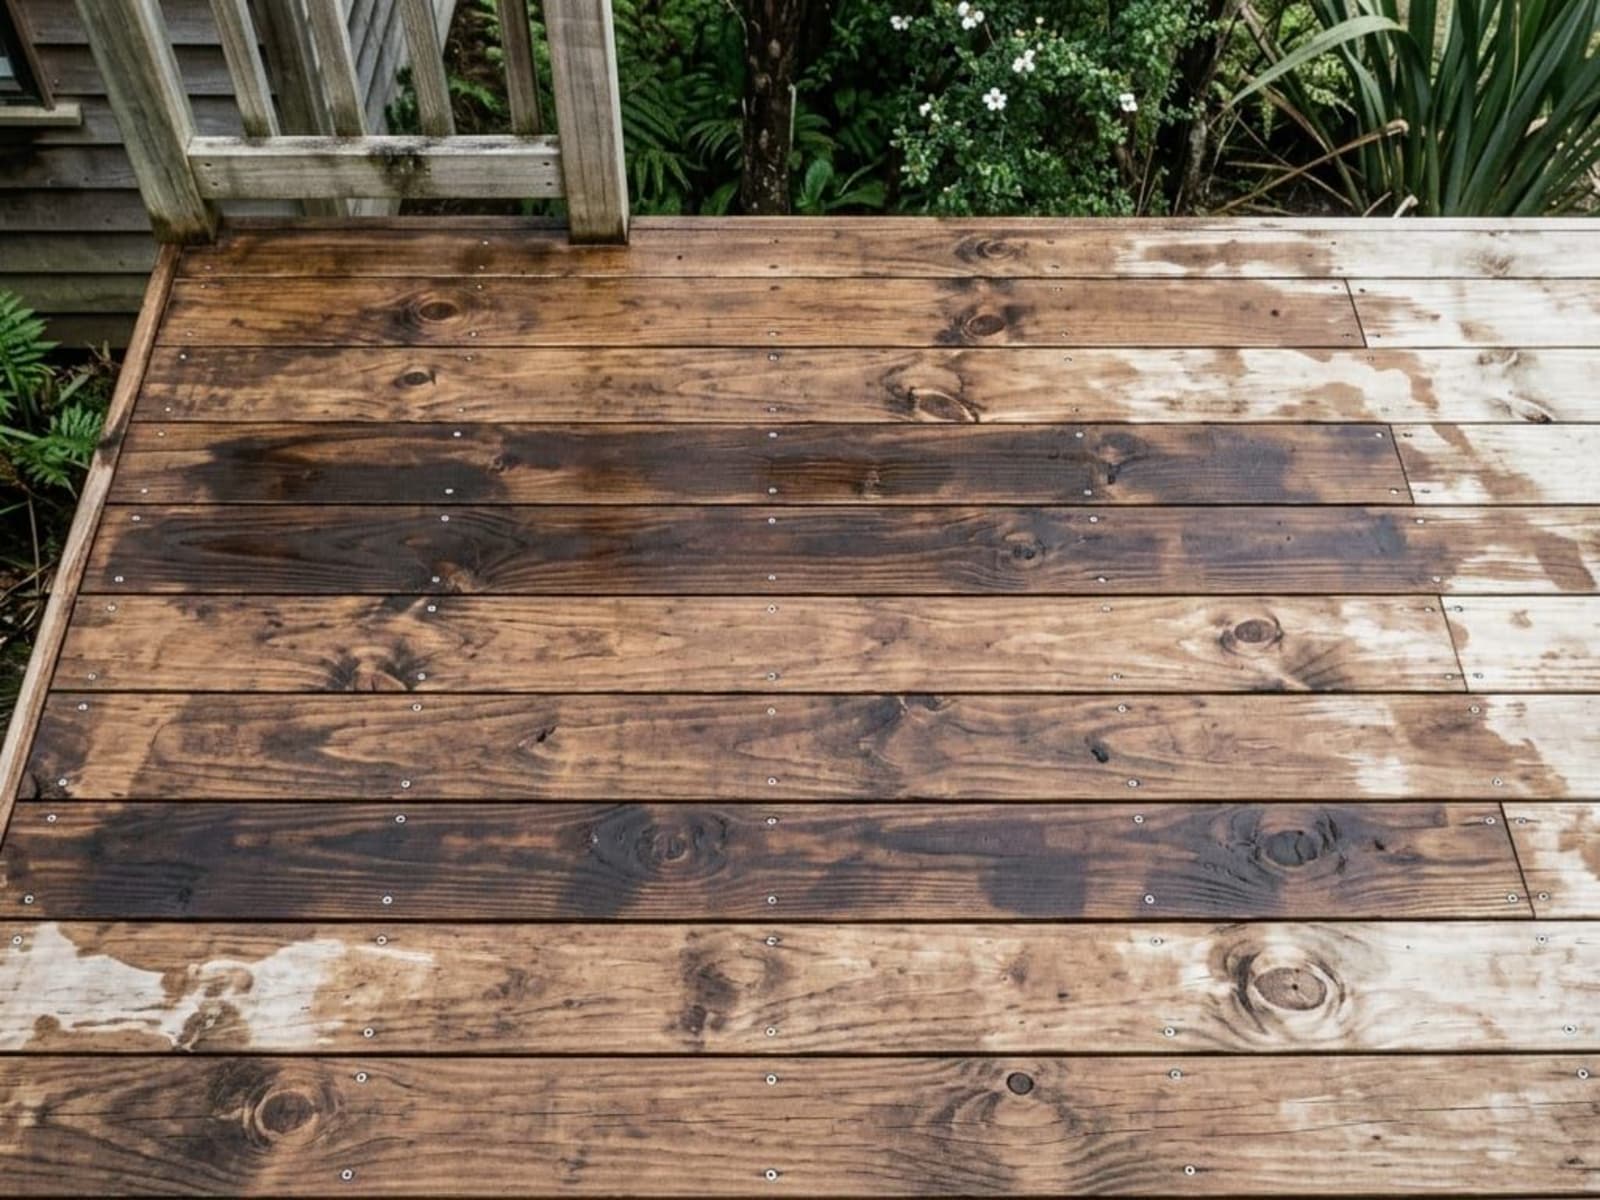
A new deck stain goes blotchy because the timber did not absorb it evenly. The usual culprits are dense or glazed spots on new boards, patches of old coating the stain cannot soak through, unstirred stain, and lap marks where wet stain was brushed over stain that had already started to dry.
Some of that evens out with a second coat. Some of it only comes right with a sand back to clean timber. Working out which cause you have tells you which fix you need.
Why doesn't the stain soak in evenly?
A penetrating deck stain works by soaking into the wood. Anything that changes how much a board can absorb changes the colour it ends up. Resene's data sheet for one of its decking stains is direct about it: the product will not penetrate through existing coatings or very hard latewood bands, and coverage varies with timber species, density and how weathered the surface is.
That means a deck is rarely a uniform surface, even when it looks it:
- Dense new boards. Freshly dressed timber, and hardwood in particular, can have a smooth, tight surface that resists stain. The trade often calls this mill glaze. Whatever you call it, the stain sits on top in some spots and soaks in at others.
- Mixed old and new boards. Weathered boards drink stain and go darker; new replacement boards absorb less and stay lighter.
- Leftover old coating. Patches of a previous stain or sealer act as a barrier, and the new stain wipes off them or stays on the surface.
- End grain and sanded patches. End grain soaks up far more than the face, and anywhere sanded harder than the rest takes the stain differently.
What causes lap marks and streaks?
Application, mostly. The two common mistakes are stopping mid-board and letting stain pool.
If you stain half a board, move on, then come back to finish it, the overlap gets a double dose and dries darker. Resene's deck guide advises applying along the entire length of the timber to a natural break, which means finishing each board, or small group of boards, end to end before moving on.
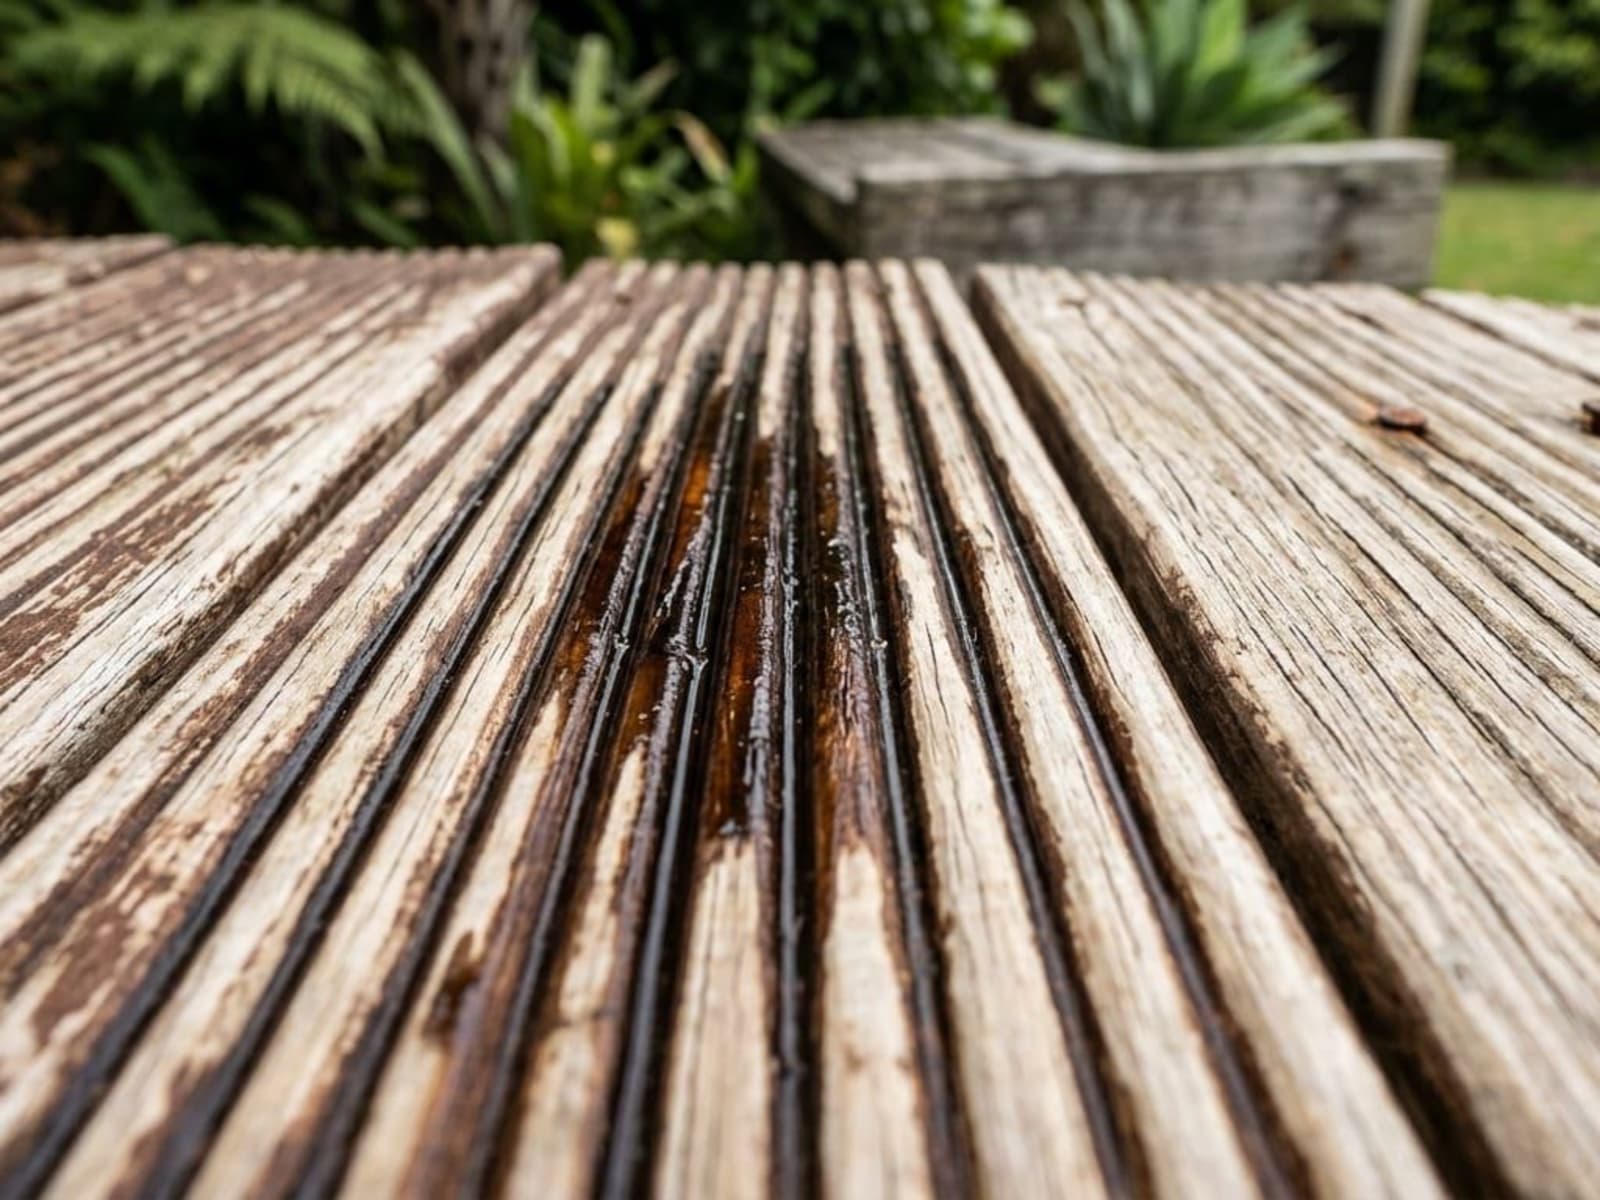
Pooling is the other one. The data sheet warns not to let the stain pool in troughs or valleys, and to remove any excess at the time of application. On grooved or reeded boards, stain collects in the grooves and dries as dark lines unless it is brushed out.
The third is colour separation in the tin. The same data sheet says to stir frequently during application to keep the colour evenly distributed. A tin stirred once at the start can give you a lighter first half of the deck and a darker second half.
How do you tell which cause you have?
| What you see | Likely cause | Can a second coat fix it? |
|---|---|---|
| Darker bands across boards at roughly the same point | Lap marks from stopping mid-board | Partly; a thin coat end to end can soften them |
| Whole boards lighter than their neighbours | New or denser boards among weathered ones | Sometimes; try a second coat on one light board first |
| Shiny or blotchy patches where stain beads or wipes off | Old coating left on the surface | No; the old coating has to come off |
| Dark lines along grooves, glossy puddles | Stain pooled and not brushed out | No; the excess needs sanding back |
| One end of the deck a different shade | Tin not stirred, or two batches not mixed together | Often, with a well-stirred coat over the whole deck |
| Streaky light and dark stripes following the grain | Hard latewood bands resisting penetration | Rarely; this is the timber itself |
What can be fixed without sanding?
Lap marks, slight colour differences between boards, and unevenness from an unstirred tin can often be evened out with a second, well-stirred thin coat applied board by board from end to end. Check the recoat time on the data sheet first, because it depends on the timber. For the stain mentioned above, Resene gives a much longer minimum recoat time on dense hardwoods than on pine.
If the difference between new and older boards is mild and does not bother you, leaving it alone is a legitimate option and costs nothing.
When does it need a re-sand?
When the problem is something sitting on the surface. Pooled, glossy stain and patches of old coating will not be fixed by adding more on top; the stain simply cannot get through. Resene's data sheet says complete removal of an existing stain is required when it is film-forming or mineral oil based, before its product goes on.
A re-sand is part of what our wood staining service covers, and it means taking the deck back to clean, even timber with a floor or orbital sander, cleaning off the dust, and starting again. It is hot, dusty work and it is the part most people underestimate. Wear a proper dust mask: the same data sheet warns that sanding dust from some hardwoods is considered carcinogenic and that all old timber dust should be treated as potentially harmful.
How do you avoid it next time?
- New timber, especially dense hardwood, may need weathering or a deck wash before it will take stain evenly.
- Clean the deck with a timber and deck wash, and treat mould first if there is any.
- Make sure any old film-forming coating is completely gone.
- Stir the stain before you start and keep stirring as you go.
- Work a few boards at a time, end to end, and brush out any excess before it dries.
- Stain in mild, dry, overcast conditions, not in full sun where the stain dries before you can keep a wet edge.
Is this a job to hand over?
A blotchy deck that needs only a second coat is well within DIY range. One that needs a full sand back is a different proposition, particularly on a large or raised deck. Our comparison of DIY vs professional deck staining sets out where the line usually falls.
If your deck has gone patchy and you want to know whether it can be rescued with a coat or needs sanding, send us a photo or ask for a visit.
Related Articles

Need Help With Your Painting Project?
Wellington Decorators has been transforming homes across the Wellington region since 2023, led by a founder with 18+ years in the trade. As Registered Master Painters, we back every job with a 5-year workmanship guarantee.
Prefer to talk? Call us now 027 458 6465