
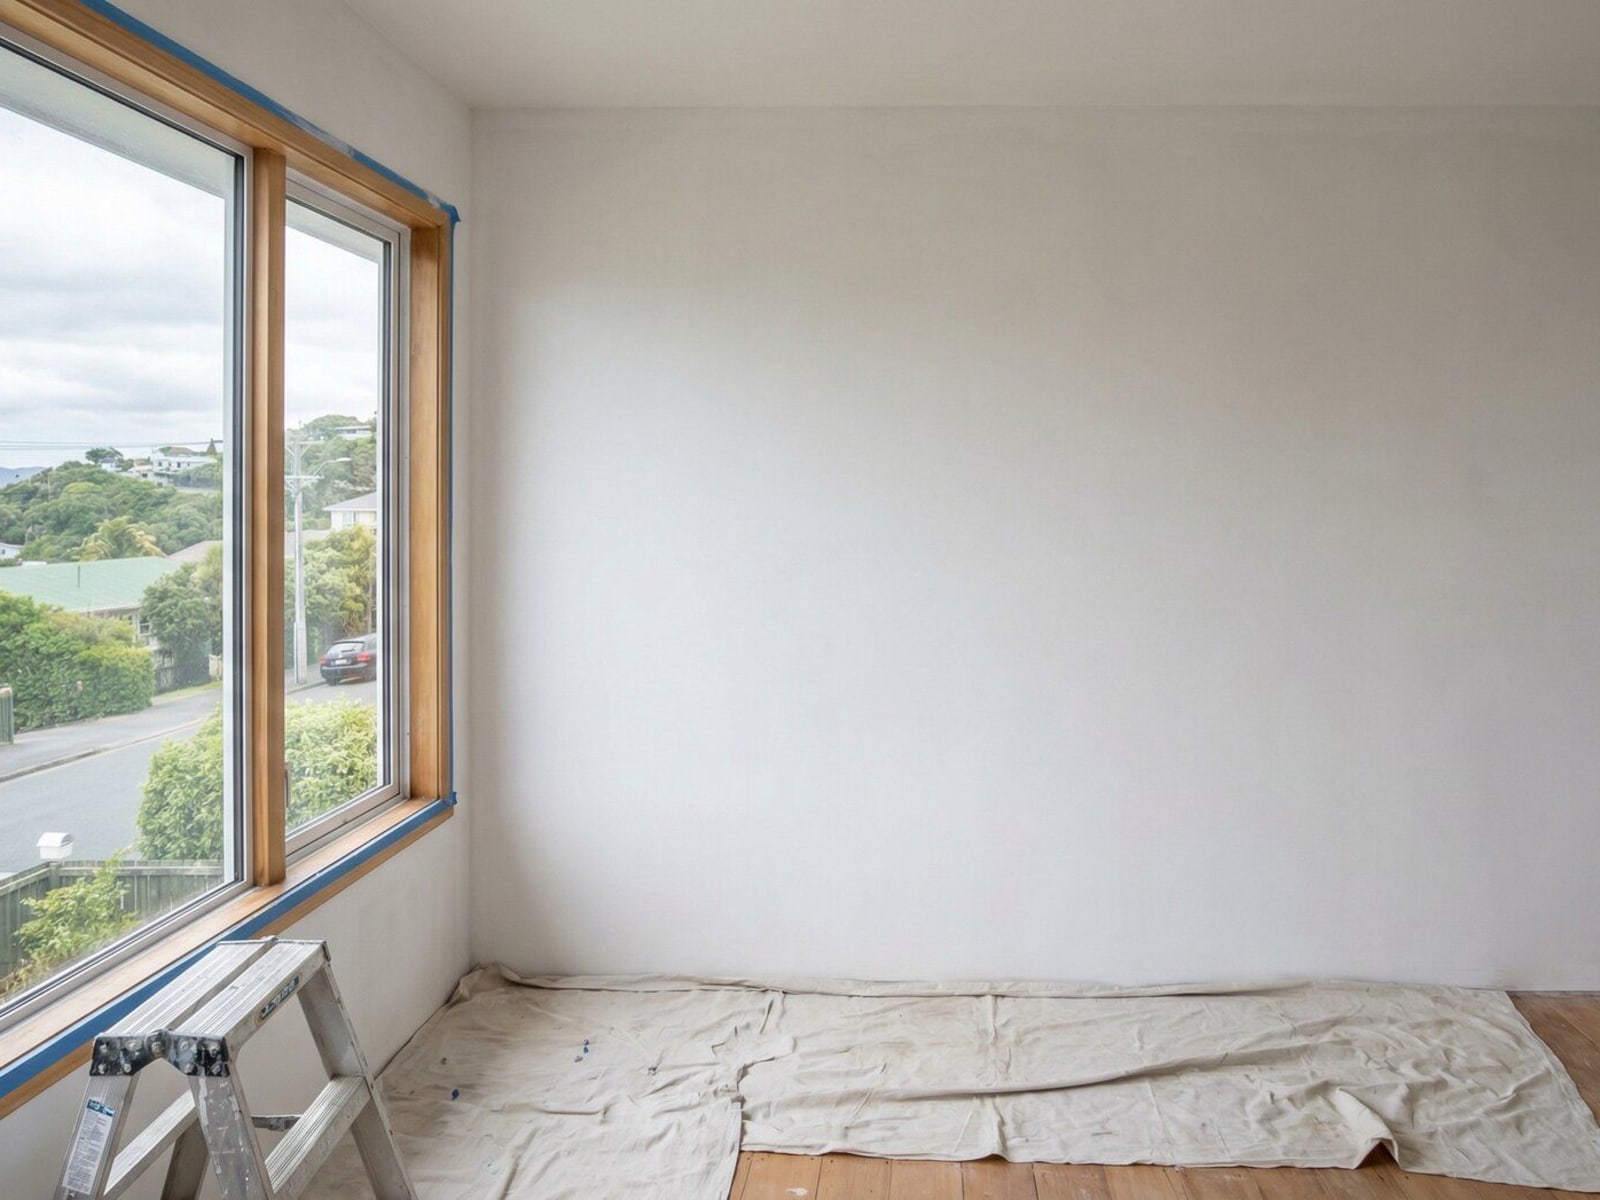
You're building a new home in Wellington. The framers have finished, electricians and plumbers have run their services, and the gib board installers have just left. Now comes gib stopping, the final interior step before painting, and one that largely decides how good your finished walls look.
Knowing how the process works helps you coordinate trades, set realistic timelines, and make informed decisions about the finish you're paying for. This guide covers what a Wellington homebuilder needs to know.
What Is Gib Stopping?
Gib stopping (also called plastering or taping and stopping) is the process of finishing the joints between gib board sheets, filling screw holes, and creating a smooth, paint-ready surface. Without it, you'd see every sheet joint, every fastener, and every imperfection through your paint.
The process involves applying jointing compound (commonly called stopping compound or simply "stopping") in multiple coats over paper or fibreglass mesh tape that bridges the joints. Each coat is allowed to dry fully before the next is applied. The final surface is sanded smooth and primed before painting.
In New Zealand, gib board is the main internal lining system. It's cost-effective, fire-resistant (in standard and fire-rated grades), and gives a good base for paint when stopped correctly. The quality of the stopping work decides whether your painted walls look sharp or rough.
Gib Stopping in the New Build Process
Trade Sequence
Typical order for a Wellington new build:
- Framing. Timber or steel frame construction
- Rough-ins. Electrical, plumbing, HVAC installed within framing
- Insulation. Batts installed between studs and in ceiling spaces
- Building inspection. Council pre-line inspection (mandatory in NZ)
- Gib board installation. Sheets fixed to framing
- Gib stopping. Joints and screws finished ← You are here
- Primer coat. Sealer applied to stopped gib
- Final painting. Interior paint finishes applied
- Fixtures and trim. Light fixtures, switches, architraves, skirting boards
Timeline Coordination
Gib stopping typically starts:
- 1-2 days after gib board installation is complete (giving boards time to settle)
- After electricians finish any board-mounted work (switches, outlets)
- Before painters begin, though gib stopping and painting are often done by the same contractor
Wellington's wet winters are a key timing factor. New builds that reach the lining stage between May and August face longer drying times because of the humidity. Budget for this in your schedule.
What Level of Finish?
Gib stopping is graded into five levels (NZS standards). Knowing which level you're getting, and what each means in practice, prevents surprises.
Standard Residential: Level 3
The vast majority of Wellington new builds use Level 3 finish:
- 2-3 coats of stopping compound over joints
- Screw holes filled 2-3 times
- Sanded smooth
- Paint-ready surface suitable for flat and low-sheen paints
Cost: Typically $18-28/sqm (included in most builder contracts)
Level 3 is the right choice for most rooms. It looks good under normal lighting and standard paint finishes. It's not "cheap", it's the industry standard for good reason.
When You Might Upgrade
Level 4 ($28-40/sqm) suits:
- Feature walls with critical lighting (wall-wash lights, raking lamp positions)
- Open-plan living areas with extensive wall surface and good natural light
- High-end specifications where owners will spend significant time in the space
- Areas receiving gloss or semi-gloss paint finishes (which reveal surface imperfections)
Level 5 ($40-60/sqm) is rarely used in residential:
- Ultra-premium homes with very specific architectural requirements
- Showroom or display home quality
- Walls specified for gloss paint with strong raking light
For 95% of new builds, Level 3 gives good results. If you're unsure, talk through the specific rooms with your gib stopper. Some homeowners choose Level 4 for the main living area and Level 3 everywhere else, which keeps the cost down.
Typical New Build Timeline
Small House (100-120sqm)
- Gib board installation: 3-5 days
- Gib stopping: 8-12 days (including drying time between coats)
- Priming: 1-2 days
- Painting: 5-8 days
Total interior finishing: 3-4 weeks from gib start to painted completion
Medium House (150-180sqm)
- Gib board installation: 5-7 days
- Gib stopping: 10-15 days
- Priming: 2-3 days
- Painting: 7-10 days
Total interior finishing: 4-5 weeks
Large House (200sqm+)
- Gib board installation: 7-10 days
- Gib stopping: 12-18 days
- Priming: 3-4 days
- Painting: 10-14 days
Total interior finishing: 5-7 weeks
Wellington's humidity and weather change drying times a lot. Winter projects take longer. Allow 20-30% extra time between May and August. Builders who don't account for this cause quality problems when they push gib stoppers to apply the next coat before the previous one is properly dry.

What Affects Gib Stopping Timeline
1. Weather and Humidity
- Summer builds. Faster drying, shorter timeline. Good conditions for gib stopping.
- Winter builds. Slower drying. May need temporary electric heating or dehumidifiers to keep conditions workable.
- High humidity. Adds 50-100% to each coat's drying time. Wellington winters regularly create conditions that need managed drying.
2. Building Complexity
- Simple rectangular rooms. Faster and more predictable
- Complex angles and bull-nose corners. Slower, takes more skilled application
- High ceilings (3m+). Extra time and gear (stilts or staging)
- Extensive ceiling detail. Coffered or architectural ceiling features add a lot of time
3. Site Access
- Good vehicle access. Easy material delivery keeps the job moving
- Difficult access. Wellington's steep hillside sections are common. Narrow driveways and retaining walls slow material delivery.
- Multi-level homes. More time moving materials and equipment between floors
4. Builder Coordination
- Efficient trade sequencing. A clean handover from gib board installer to stopper cuts wait time
- Poor coordination. Waiting for electricians to finish rough-in changes before gib goes up is a common source of delays
Cost Inclusion in New Build Contract
What's Typically Included
Most builder contracts include:
- Gib board supply and installation
- Standard gib stopping (Level 3)
- Primer coat on stopped surfaces
- Basic interior paint finish (often one or two colours, builder's grade paint)
Total per sqm: $65-95 combined (gib, stopping, and painting)
What Might Be Extra
- Moisture-resistant gib. Bathrooms, laundries, kitchen splashback areas ($5-10/sqm extra)
- Fire-rated gib. Attached garages, specific walls in multi-unit builds ($8-15/sqm extra)
- Higher finish levels. Level 4 or 5 (price difference from Level 3 baseline)
- Premium paint systems. Low-VOC or specific brand requirements
- Feature wall treatments. Textured finishes, special application techniques
Read your building contract specifications carefully. Many homeowners find out after the build that "standard" stopping and painting under their fixed-price contract was builder's grade only, meaning premium finishes were always going to be out-of-pocket.
Quality Checkpoints
After Gib Board Installation (Before Stopping)
Check for:
- Secure fixing. No loose or popping screws
- Appropriate screw depth. Dimpled slightly below surface, not punched through the paper face
- Damaged sheet faces. Corners or edges broken during install need replacing, not just filling
- Gaps between sheets. Should be minimal (3-5mm maximum)
Sort out any issues before stopping begins. A screw that's too deep or a paper face that's torn is far easier to fix at this stage than after stopping has been applied.
After First Coat
- Tape adhered properly (no bubbles or loose edges)
- Joints covered completely with no voids
- Corner beads installed straight and plumb
After Final Coat
- Smooth surface under raking light (hold a torch parallel to the wall)
- No visible ridges, humps, or low spots at joints
- Screw holes invisible to the eye
- Internal corners crisp and consistent
After Sanding
- Dust thoroughly removed (vacuumed and wiped)
- Surface ready for primer, no high spots remaining
- No damaged tape or torn gib paper from over-aggressive sanding
Don't skip inspections. Issues compound if not caught early. A lumpy joint that gets primed and painted is a lumpy joint you live with for the life of the house.
Builder vs Direct Contractor
Builder's Gib Stopper (Subcontractor)
Advantages:
- Single point of responsibility, the builder coordinates and is accountable
- Built into the overall construction timeline
- Usually included in the fixed-price contract
Disadvantages:
- You don't choose the gib stopper, the builder does
- Quality varies widely between builders' preferred subcontractors
- Less direct communication, issues go through the builder
Your Own Gib Stopping Contractor
Advantages:
- You select based on reputation, reviews, and quality examples
- Direct communication throughout the job
- Potentially better quality outcomes, especially for premium finishes
Disadvantages:
- You manage coordination with the builder and other trades
- May affect the builder's warranty position if issues arise where trades meet
- Timing coordination is more complex
Most homeowners stick with the builder's subcontractor for simplicity, and for a standard Level 3 finish in a standard house, that's generally fine. If you're building a high-spec home or have specific quality expectations, ask your builder who they use for gib stopping and request examples of their work.
Common New Build Gib Stopping Issues
1. Rushed Timeline
Problem: Builder pressure to finish fast regardless of conditions
Result: Too little drying time between coats leads to cracking and delamination
Solution: Don't compromise drying time even when behind schedule. Cracked stopping found after painting is expensive to fix properly.
2. Poor Surface Preparation
Problem: Dusty or contaminated gib board surface
Result: Poor compound adhesion and tape lifting
Solution: Get boards clean and dry before stopping begins. Gib dust from cutting should be vacuumed off, not blown around.
3. Temperature Too Low
Problem: Working in unheated winter builds below 10°C
Result: Stopping compound doesn't cure properly, stays soft and chalky
Solution: Temporary heating to hold 10°C minimum during application and drying. This is an extra cost but prevents costly failures.
4. Inadequate Sanding
Problem: Rushing sanding to meet the painter's schedule
Result: Visible ridges and tool marks telegraphing through paint
Solution: Proper sanding is non-negotiable. Check with raking light before priming. Any ridges visible now will be visible through paint forever.
5. Missed Screw Pops
Problem: Screws not driven to the correct depth initially
Result: Screw pops appear 6-12 months after completion as the frame dries and moves
Solution: Get the screw depth right before stopping. New builds will see some timber movement. This is normal, but proper technique keeps it to a minimum.
Coordinating with Other Trades
Electricians
- Finish all switch and outlet mounting before stopping starts
- Electrical return visit after painting for faceplates, don't try to stop around loose faceplates
Plumbers
- All fixtures that mount directly to gib (bathroom mirrors, towel rail backing plates) should be located before stopping
- Penetrations through gib for pipes should be correctly sized before stopping begins
HVAC
- Ventilation grilles and heat pump indoor unit backing plates installed or clearly located before stopping
Talk to your builder about trade sequencing. A well-run site has the gib stopper starting on one section while other trades finish another, not waiting days for electricians to complete work that should have been done before the gib went on.

What Homeowners Should Do
During Gib Stopping
- Visit site regularly. Check progress at each coat stage
- Look under raking light. Hold a torch at a flat angle to the wall to see imperfections
- Document concerns. Photos with date stamps if you see something wrong
- Raise issues promptly. Don't wait until the end of the job
After Completion (Before Painting)
- Inspect under good lighting. Natural daylight and raking torch light both
- Mark issues with pencil. Small circles around spots needing touch-up
- Discuss concerns. Have a walk-through with the builder or contractor before primer is applied
- Accept reasonable standards. Level 3 isn't perfect; it's paint-ready. Some minor variations are within tolerance.
Frequently Asked Questions
How many coats of stopping are applied?
Typically 3 coats for a Level 3 finish: a bed coat to embed the tape, a fill coat to build up the joint, and a finish coat to create a smooth, feathered surface. Each coat must dry completely before the next is applied.
Can I speed up drying time?
Yes. Good ventilation and heating help a lot. Dehumidifiers are particularly effective in Wellington winter builds. What you can't do is apply the next coat before the previous one is properly dry. Forcing drying with excessive heat can cause cracking.
Why does my new house have cracks in the stopping after one year?
Minor hairline cracks at joints are common in new builds. Timber framing dries out over the first 12-24 months, causing movement that can crack stopping compound. This is normal, not a defect, and is typically addressed at the 12-month defects review under your build contract.
Is gib stopping the same as plastering?
In New Zealand building terminology, the terms are used somewhat interchangeably. Strictly, plastering refers to wet plaster applied over a base coat, less common in residential new builds today. Gib stopping refers specifically to finishing gib board joints with stopping compound, which is the standard approach in modern NZ construction.
Get Quality Gib Stopping for Your New Build
Coordinated through your builder or engaged directly, good gib stopping is the base for painted interiors that last the life of your home.
Building in Wellington and need gib stopping advice?
Wellington New Build Specialists
Level 3-5 Finishes | Builder Coordination | Registered Master Painters
Local Gib Stopping Services
Need gib stopping in your area? We provide gib stopping services across Wellington suburbs including Newlands, Ngaio, Hataitai, Island Bay. Get a free quote for your project today.
Related Articles


Need Help With Your Painting Project?
Wellington Decorators has been transforming homes across the Wellington region since 2023, led by a founder with 18+ years in the trade. As Registered Master Painters, we back every job with a 5-year workmanship guarantee.
Prefer to talk? Call us now 027 458 6465