
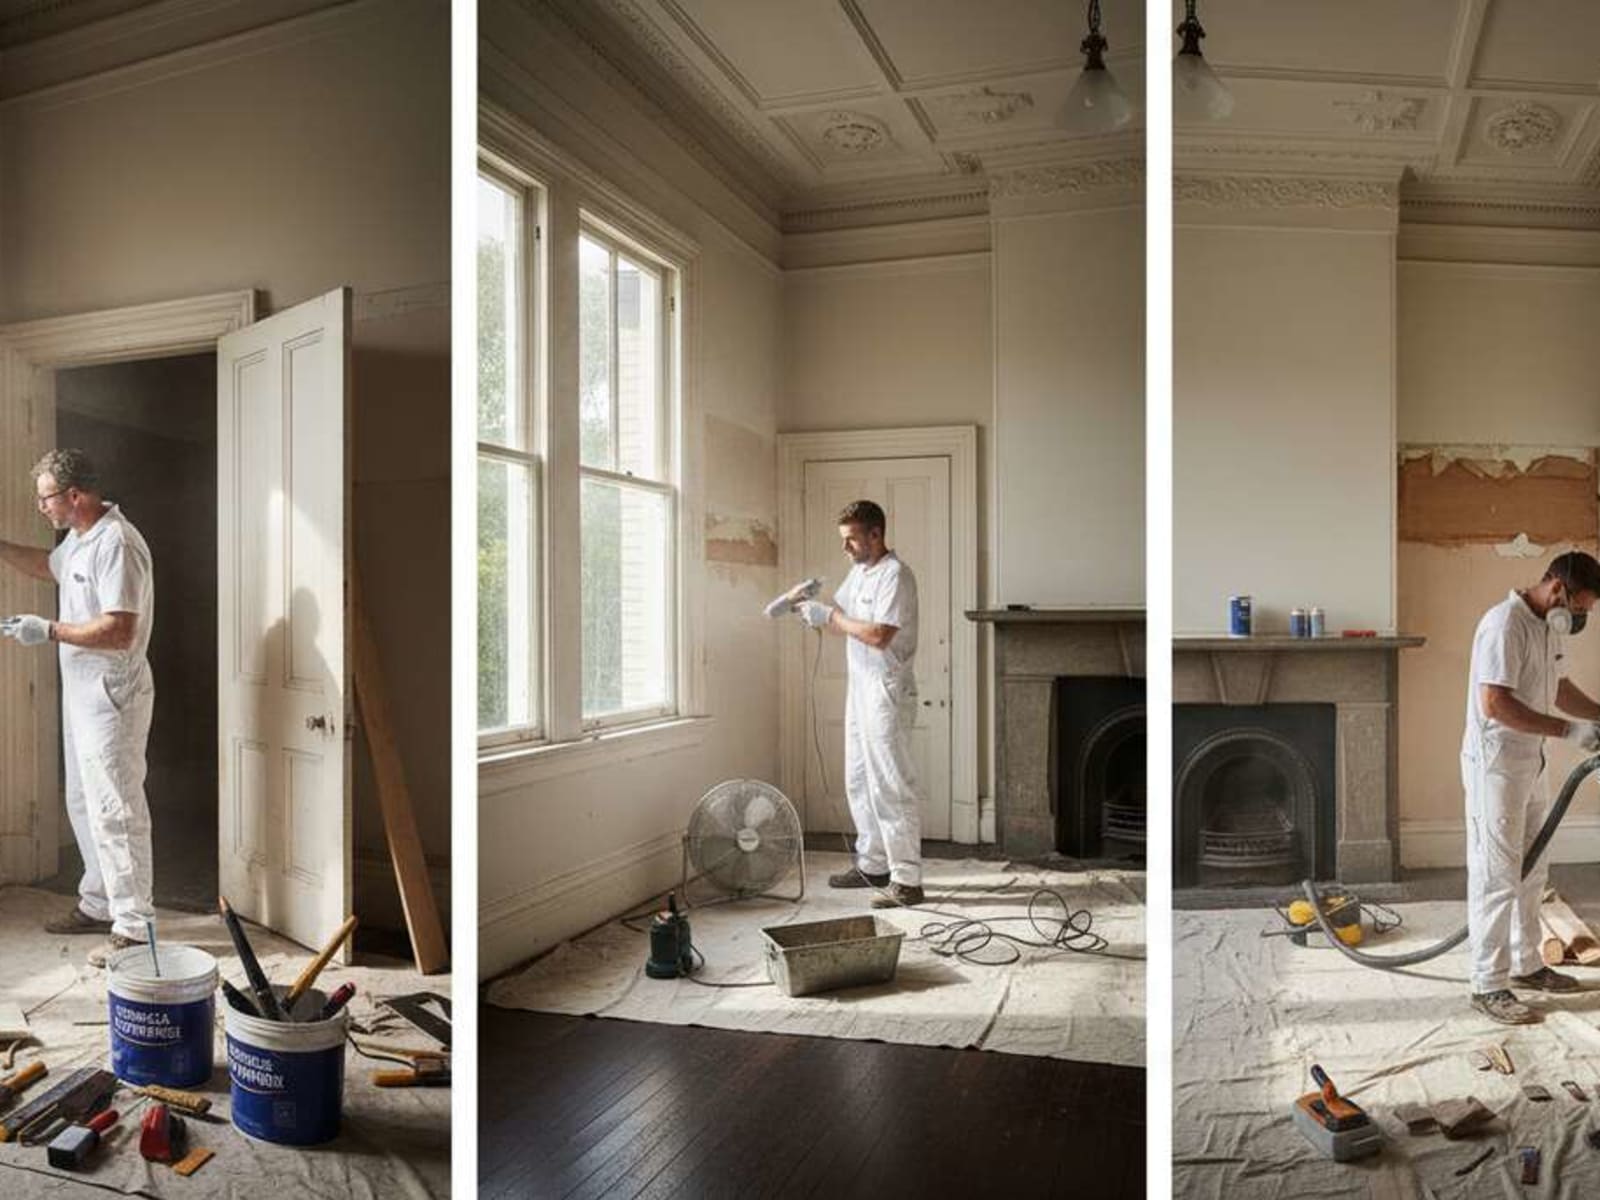
Choosing the Right Paint Stripping Method
Paint stripping isn't one-size-fits-all. The right method depends on your substrate (timber, metal, masonry), paint type (lead vs non-lead), how detailed the surface is, and how big the job is. Choose wrong and you risk damaging the substrate, creating safety hazards, or getting a poor result.
We are Registered Master Painters, and Khai Do has been on the tools since 2008. We have used every method below in real Wellington conditions, on heritage villas and modern homes alike. Here is how each one works and when to use it.
Do You Actually Need to Strip? When Paint Stripping Is and Isn't Necessary
Before you spend the time and money on full paint stripping, ask if you need to strip at all. A lot of Wellington homeowners assume stripping is always required before repainting. Often it is unnecessary and sometimes makes the job worse.
Stripping is necessary when:
- Paint layers are so thick they're hiding architectural detail (common on heritage joinery painted 20+ times)
- The existing paint is failing completely (peeling, blistering, or unstable)
- Lead paint is present and the surface will be disturbed (sanded, abraded, or heated)
- You're restoring heritage timber to bare wood for a stain or oil finish
- Multiple incompatible paint systems have been applied over decades
Stripping is NOT necessary when:
- The existing paint is stable and adhering well (simple repaint situation)
- Minor surface prep (sanding, washing, spot priming) will create adequate adhesion
- The substrate can tolerate more paint thickness
A proper assessment tells you which situation you're in. Getting this wrong costs real time and money. We have seen homeowners strip surfaces that didn't need it, and paint over surfaces that did need stripping. Both are expensive mistakes.
Lead Paint: The Critical Safety Issue for Wellington Homes
Lead paint was used in New Zealand homes until the late 1970s. Wellington has a lot of pre-1980 housing stock, which means lead paint is present in a very large share of Wellington homes, particularly on weatherboards, window joinery, and interior trims.
Why this matters for stripping: Lead becomes dangerous when disturbed. Sanding, grinding, and heating lead paint create lead dust and fumes that cause serious poisoning, particularly in children. This is not a theoretical risk. It is a real and common hazard in Wellington renovation work.
Before stripping any surface in a pre-1980 Wellington home:
- Test for lead using an accredited lead paint test kit (available from hardware stores)
- Or arrange professional lead testing before any work begins
- If lead is confirmed, use chemical stripping or soda blasting only
- Never use heat or mechanical methods on confirmed lead paint
Wellington Decorators follows all WorkSafe lead paint guidelines and can manage lead paint safely. We test before we strip.
Method 1: Chemical Stripping
How Chemical Stripping Works
Process:
Chemical paint strippers dissolve the bond between paint and substrate. Applied as gel or paste, left to work (20 minutes to 24 hours), then scraped off with dissolved paint.
Active Ingredients:
- Methylene chloride (traditional, aggressive)
- N-Methyl-2-pyrrolidone (NMP), a safer alternative
- Sodium hydroxide (caustic, water-based)
- Bio-based strippers (citrus, soy), gentlest and slowest
Best Applications
Ideal For:
- Heritage weatherboards and mouldings
- Detailed architectural features
- Window frames and joinery
- Lead paint removal (minimal dust)
- Intricate profiles and carvings
- Delicate substrates
Surface Types:
- Timber (all types)
- Metal (with appropriate product)
- Plaster and masonry
Advantages
- ✓ No substrate damage. Chemical action only affects the paint
- ✓ Works on complex shapes. Penetrates grooves and profiles
- ✓ Controlled and precise. Apply exactly where needed
- ✓ Suitable for lead paint. Minimal dust, the safest method
- ✓ Multiple layer removal. Dissolves through the entire paint system
- ✓ No heat damage. Won't scorch or char timber
Disadvantages
- ❌ Toxic chemicals. Require respirator, gloves, protective equipment
- ❌ Time-consuming. Multiple applications for thick build-up
- ❌ Expensive. Chemicals cost $60-120 per m² professionally
- ❌ Disposal requirements. Hazardous waste, cannot use standard bins
- ❌ Weather sensitive. Outdoor use requires dry conditions
- ❌ Messy process. Sticky residue requires thorough cleaning
Safety Considerations
PPE you need:
- Chemical-resistant gloves (nitrile minimum)
- Safety glasses/face shield
- Respirator with organic vapour cartridges
- Long sleeves, long pants (chemical-resistant)
Ventilation:
Work outdoors or with very good ventilation. Fumes can be overwhelming in confined spaces.
Disposal:
Never pour stripper down drains. Collect waste in sealed containers and dispose through hazardous waste facilities.
Cost
DIY: $15-30 per m² (materials only)
Professional: $60-120 per m² (labour + materials + disposal)
Lead Paint: $80-150 per m² (enhanced safety protocols)
Method 2: Heat Stripping
How Heat Stripping Works
Process:
Heat gun or infrared heater softens paint (300-500°C), then immediately scraped off with metal scraper while soft.

Equipment:
- Electric heat gun ($50-200 to purchase)
- Infrared paint stripper ($300-600 rental)
- Metal scrapers (various profiles)
Best Applications
Ideal For:
- Flat or simple weatherboards
- Large surface areas
- Non-lead paint only
- Budget-conscious projects
- DIY-friendly approach
Surface Types:
- Timber surfaces (with care)
- Some metal (temperature control critical)
Advantages
- ✓ No toxic chemicals. Safer for the environment
- ✓ Faster on large areas. Continuous work, no chemical dwell time
- ✓ Lower cost. $40-80 per m² professionally
- ✓ Immediate results. No waiting for chemicals to work
- ✓ Affordable equipment rental. $30-50 per day
- ✓ Good for DIY. Technique learned relatively quickly
Disadvantages
- ❌ Fire risk. Especially on old, dry timber
- ❌ Can scorch timber. Affects appearance and structural integrity
- ❌ NOT for lead paint. Heat vaporises lead (toxic fumes)
- ❌ Difficult on details. Hard to control heat in tight spaces
- ❌ Requires skill. Easy to damage the substrate
- ❌ Physically demanding. Repetitive scraping action
- ❌ Glass breakage risk. Heat near windows can crack panes
Safety Considerations
Fire Prevention:
- Keep fire extinguisher handy
- Never work near flammable materials
- Check for smouldering after finishing
- Extra caution on old, dry timber
Burn Protection:
- Heat-resistant gloves
- Long sleeves mandatory
- Work deliberately and carefully
Lead Paint Warning:
NEVER heat strip lead paint. Heating lead paint releases toxic fumes that cause serious poisoning.
Cost
DIY: $50-100 heat gun purchase (reusable)
Professional: $40-80 per m² (labour + equipment)
Method 3: Mechanical Stripping
How Mechanical Stripping Works
Process:
Abrasion physically removes paint through sanding, grinding, or blasting.
Methods:
- Hand/power sanding using orbital, belt, or detail sanders
- Grinding with an angle grinder and paint removal disc
- Sandblasting where compressed air propels sand/abrasive
- Soda blasting, gentler blasting with bicarbonate
- Scraping by hand with a paint scraper (minimal areas)
Best Applications
Sanding/Grinding:
- Metal surfaces (window frames, gates, railings)
- Concrete or masonry
- Limited timber use (damages grain)
Sandblasting:
- Brick walls
- Concrete
- Thick metal
- Industrial settings
Soda Blasting:
- Heritage timber (gentle, substrate-safe)
- Delicate restoration projects
- Complex architectural features
- High-value projects
Advantages
- ✓ Fast on suitable surfaces like metal and masonry
- ✓ Complete removal. Down to bare substrate
- ✓ Soda blasting is gentle. Safe for heritage timber
- ✓ Equipment widely available. Hire shops, tool rental
- ✓ No chemicals. Environmental benefit
Disadvantages
- ❌ Creates huge dust volumes. Extensive containment needed
- ❌ NOT for lead paint. Creates toxic dust clouds (extremely dangerous)
- ❌ Damages timber grain. Aggressive sanding ruins soft wood
- ❌ Noise. Hearing protection needed, neighbour disruption
- ❌ Difficult to control. Easy to over-sand
- ❌ Soda blasting is expensive. $120-200 per m²
Safety Considerations
Dust Control:
- P3 dust masks minimum (P100 for lead, but don't sand lead!)
- HEPA vacuum with on-tool extraction
- Plastic containment sheeting
- Wet methods where possible
Noise:
- Hearing protection needed
- Warn neighbours of grinding/blasting work
Lead Paint Prohibition:
NEVER mechanically strip lead paint. Sanding/grinding lead paint creates toxic dust that contaminates the whole property and causes serious poisoning.
Cost
DIY Sanding: $20-50 (sandpaper + tool hire)
Professional Sanding: $50-100 per m²
Soda Blasting: $120-200 per m² (specialist equipment)
Method Comparison Table
| Method | Cost (Prof) | Speed | Lead Safe? | Timber Safe? | Complexity | DIY? |
|---|---|---|---|---|---|---|
| Chemical | $60-120/m² | Slow | ✓ Yes | ✓ Yes | ✓ Excellent | Possible |
| Heat | $40-80/m² | Medium | ✗ NO | ⚠ Careful | ⚠ Fair | Yes |
| Sanding | $50-100/m² | Fast | ✗ NO | ⚠ Damages | Poor | Yes |
| Soda Blast | $120-200/m² | Medium | ✓ Yes | ✓ Yes | ✓ Excellent | No |
Wellington-Specific Paint Stripping Considerations
Wellington's housing stock has features that change which method you should pick:
Heritage villa and bungalow joinery: Wellington has a lot of pre-1940 villas and bungalows with intricate timber mouldings, kauri weatherboards, and rimu joinery. These surfaces respond best to chemical stripping or soda blasting. Mechanical methods damage the grain and profiles that make these homes worth owning. Heat stripping risks scorching the dry, aged timber.
Lead paint prevalence: Pre-1978 Wellington homes almost certainly contain lead paint somewhere. Joinery (windows, doors, trims) is the most common spot. Always test before stripping. Chemical stripping is the safest approach when lead is confirmed.
Weatherboard condition: Wellington's driving rain and southerly winds speed up weatherboard deterioration. Stripping shows the true condition of the timber. Sometimes we find rot or damage hidden under paint layers that has to be fixed before repainting. That's a benefit, not a complication. Better to find it during stripping than have paint fail over damaged wood six months later.
Steel window frames: Common in Wellington's post-war housing (1940s-1970s), these respond well to mechanical stripping. Angle grind back to bare metal, then a rust-inhibiting primer. Chemical stripping is less effective on steel and adds cost for no benefit.
Choosing the Right Method for Your Project
Heritage Weatherboards
Recommended: Chemical or soda blasting
Why: Preserves timber, removes paint from profiles
Avoid: Heat (scorching), sanding (grain damage)
Window Frames (Timber)
Recommended: Chemical stripping
Why: Precise control, safe for glazing nearby
Avoid: Heat (glass breakage), sanding (detail loss)
Metal Gates/Railings
Recommended: Mechanical (sanding/grinding)
Why: Fast, effective, metal tolerates abrasion
Alternative: Chemical for intricate ironwork
Flat Weatherboards (Non-Lead)
Recommended: Heat stripping
Why: Cost-effective, fast, suitable substrate
Alternative: Chemical if budget allows
Lead Paint (Any Surface)
Only Options: Chemical or soda blasting
Why: Minimal dust/fume creation
Never: Heat or mechanical methods
Large Deck Surfaces
Recommended: Heat or mechanical
Why: Large flat area, cost-effectiveness
Note: Chemical works but expensive for area
Professional vs DIY by Method
Chemical Stripping
DIY Suitable If:
- Small area (single door, few windows)
- Non-lead paint confirmed
- Proper safety equipment available
- Good ventilation
Professional Recommended:
- Lead paint present
- Large areas (full house)
- Heritage features
- Time constraints
Heat Stripping
DIY Suitable If:
- Non-lead paint confirmed
- Simple flat surfaces
- Comfortable with power tools
- Patient and careful
Professional Recommended:
- Lead paint present (don't heat at all!)
- Near windows/glass
- Large-scale projects
- Delicate substrates
Mechanical Methods
DIY Suitable If:
- Metal or masonry surfaces
- Small areas
- Non-lead paint confirmed
- HEPA equipment available
Professional Recommended:
- Lead paint (hire professional or use different method)
- Timber surfaces (damage risk)
- Soda blasting (specialist equipment)
- Large projects
What Happens After Stripping?
Paint stripping is preparation, not the end goal. After stripping, the surface needs proper treatment before repainting:
- Bare timber: Treat any exposed rot, fill gaps, sand smooth, then prime with the right product (Resene Quick Dry or Broadwall depending on condition) before topcoat.
- Bare metal: Apply rust-inhibiting primer within 24 hours of stripping. Don't leave bare metal exposed, particularly in Wellington's coastal salt spray where rust starts fast.
- Masonry: Check for moisture issues, repair cracks, apply the right primer/sealer before topcoat.
Inspecting after stripping also turns up hidden problems, like rot in timber, corrosion in metal, or cracks in masonry, that need fixing before paint goes back on. That's one of the most useful parts of professional stripping. Problems hidden under paint get found and fixed properly.
Frequently Asked Questions
Q: How do I know if my home has lead paint?
A: If your Wellington home was built before 1978, assume lead paint is present until tested. DIY lead test kits ($20-$40 at hardware stores) give a quick first check. Professional testing is more reliable for heritage properties or where significant stripping work is planned.
Q: Can paint stripping be done in Wellington winters?
A: Chemical stripping works year-round since it's usually done indoors or on covered surfaces. Heat and mechanical methods on exterior surfaces depend more on the weather but can still go ahead during dry winter windows. Cold temperatures slow chemical stripper dwell times, so expect longer reaction times in winter.
Q: How do I dispose of lead paint waste in Wellington?
A: Lead paint waste is classified hazardous waste. It cannot go in standard rubbish bins. Wellington City Council's Tip Shop at Silverstream accepts hazardous waste. Your professional painter handles disposal as part of the service fee. Confirm this when getting quotes.
Q: Is paint stripping disruptive to live in a home?
A: Chemical stripping produces strong fumes that need ventilation. Interior chemical stripping in occupied homes should be done room-by-room with residents out of the house during active stripping. Heat and soda blasting are usually exterior processes with little indoor disruption.
Getting Expert Method Selection
Free Assessment:
Not sure which method suits your project? Contact Wellington Decorators for a free inspection and recommendation.
We Assess:
- Substrate type and condition
- Paint layers and lead presence
- Surface complexity
- Budget and timeline
- Best method for your specific situation
All Methods Available:
We do chemical, heat, mechanical, and soda blasting, and we pick the right approach for each job rather than selling one method for everything.
Call 027 458 6465 or request a free quote online for advice.
Related Services:
Related Articles:
- Paint Stripping Wellington Guide
- Lead Paint Removal Safety
- Paint Stripping Cost Wellington
- Paint Stripping vs Painting Over
Local Paint Stripping Services
Need paint stripping in your area? We provide professional paint stripping services across Wellington suburbs including Karori, Kilbirnie, Khandallah, Lyall Bay. Get a free quote for your project today.
Related Articles


Need Help With Your Painting Project?
Wellington Decorators has been transforming homes across the Wellington region since 2023, led by a founder with 18+ years in the trade. As Registered Master Painters, we back every job with a 5-year workmanship guarantee.
Prefer to talk? Call us now 027 458 6465