
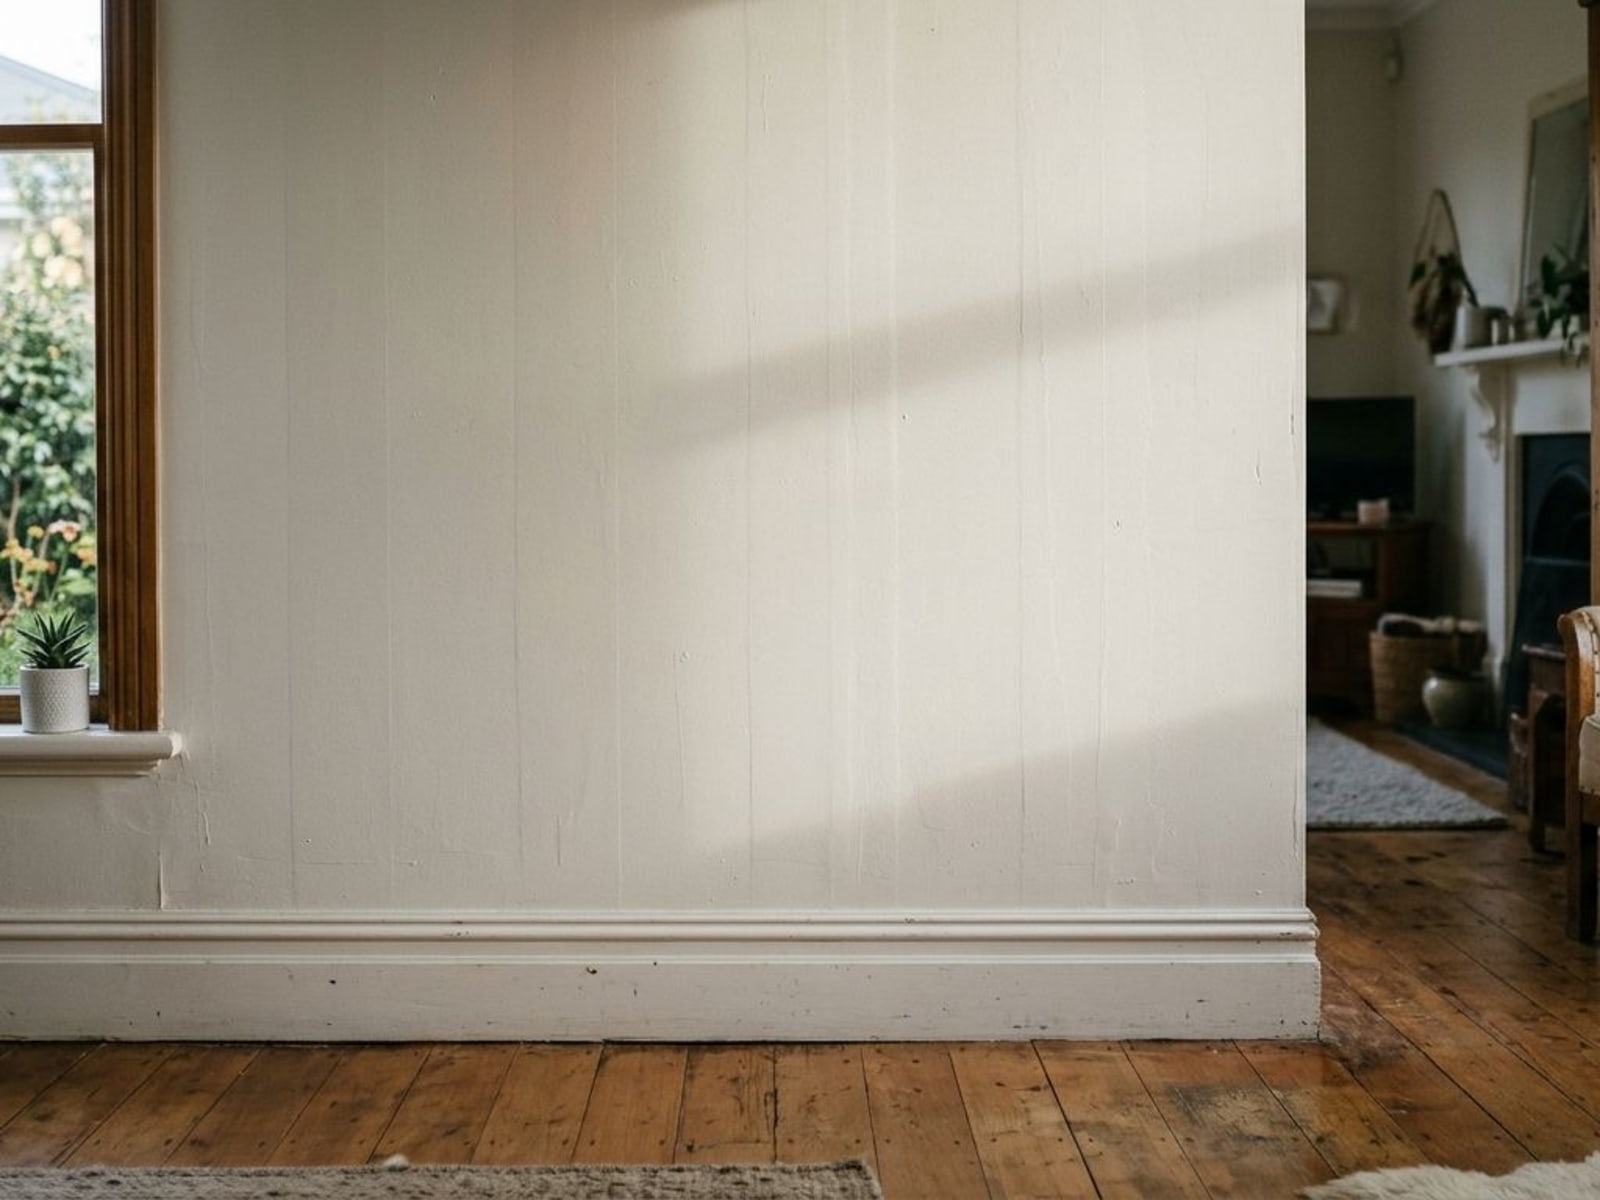
Lap lines show where fresh paint was rolled over paint that had already started to dry, so the two layers never merged and the overlap dries with a different thickness and sheen. Roller marks are the same family of fault, caused by uneven loading, overworking, pressing too hard or using the wrong sleeve, and they tend to become obvious only once the wall is dry and the light hits it from the side.
Both are fixable with one more coat, applied differently. Neither means the paint is faulty.
Why did the wall look fine while it was wet?
Because wet paint is uniformly glossy. Every part of the wall reflects light the same way until the water leaves, and it is only as the film dries and settles to its final sheen that differences in thickness and texture show. The stripes were there all along. The wet sheen hid them.
They also show more in some light than others. A wall lit from the side by a window, or by a low lamp at night, will show every ridge and overlap. The same wall lit straight on can look perfect.
What is a wet edge and why does it matter?
A wet edge is the boundary of the paint you have just applied, while it is still wet enough to blend into. Resene's training material on paint problems describes the aim of each new load of paint as making an invisible join with the last, which only works if the paint you are joining into has not dried too far. Its list of reasons for losing that edge is familiar to anyone who has painted a room: overworking the paint, stopping for a phone call, very hot conditions and a strong wind.
The same material notes that waterborne paints are more prone to this problem because of their nature, and most interior wall paint is waterborne. It also warns against painting dark colours in direct sun on hot days for the same reason.
What causes the stripes and marks?
| What you see | Likely cause |
|---|---|
| Darker or shinier bands where sections overlap | Lost wet edge, new paint rolled into paint that had begun to dry |
| Thin parallel lines along the roller path | Too much pressure, or paint building up at the ends of the roller |
| Patchy areas of different sheen | Overworking an area, or uneven sealing of the surface underneath |
| Heavy texture or stipple in patches | Uneven loading, or a sleeve too long for a smooth wall |
| A band around the edges of the wall | Brushed cutting-in with a different film thickness or texture from the rolled area |
Does the roller sleeve make a difference?
A big one. Resene's guide to using rollers matches sleeves to surfaces: its dense 8mm sleeve is listed for smooth walls, ceilings and paper-faced plasterboard, a 12mm sleeve for imperfect walls, embossed paper and textured plaster, and much longer naps for rough surfaces like brick and stucco. A long nap on a smooth GIB wall leaves a heavy texture that shows in side light. A short nap on a rough surface misses the hollows and leaves thin patches.
Cheap sleeves shed fibres and hold paint unevenly, and that shows up as streaks. A good sleeve suited to your wall is the cheapest improvement you can make to the finish.
How do you roll a wall without marks?
The first four steps follow Resene's roller guide; the last is standard trade practice:
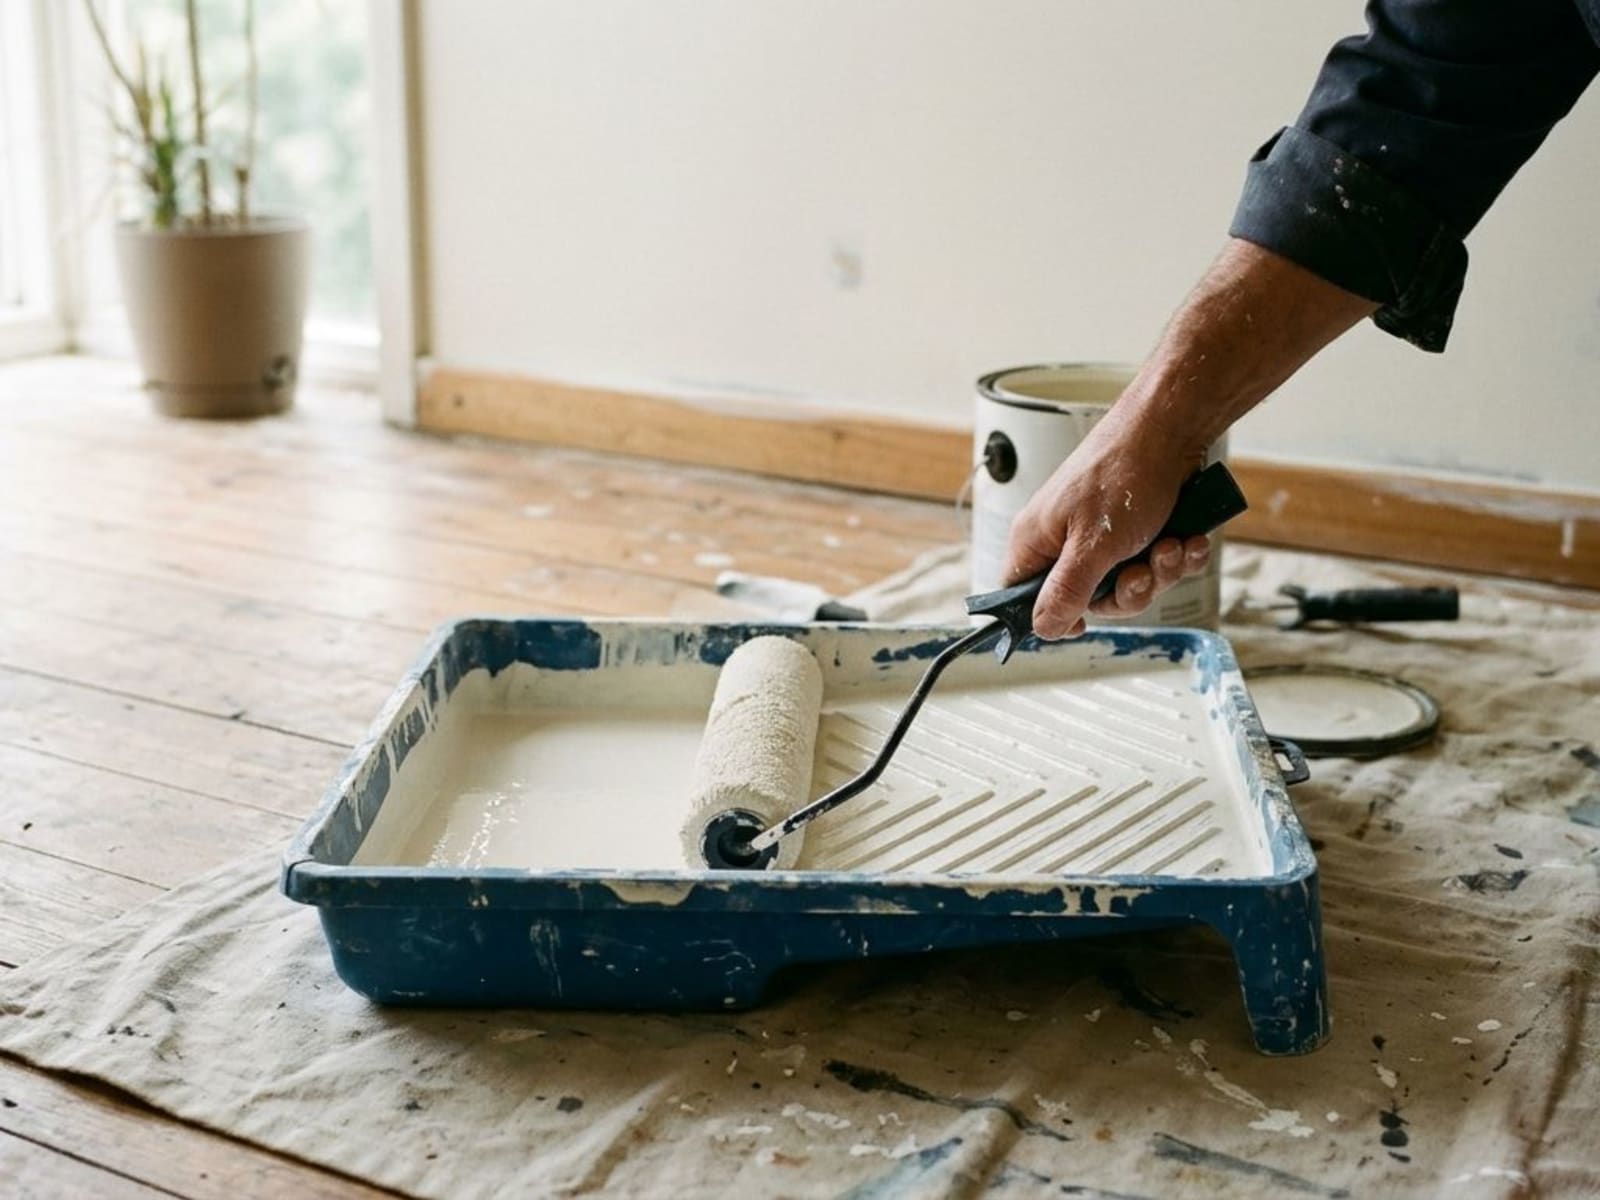
- Load the roller properly. Roll it into the paint, then work it on the ribbed part of the tray to squeeze out the excess and spread paint evenly through the sleeve.
- Spread each load over a fixed area. The guide suggests aiming for about one square metre per roller load, spread as evenly as possible, rolling upward first in a rough W pattern.
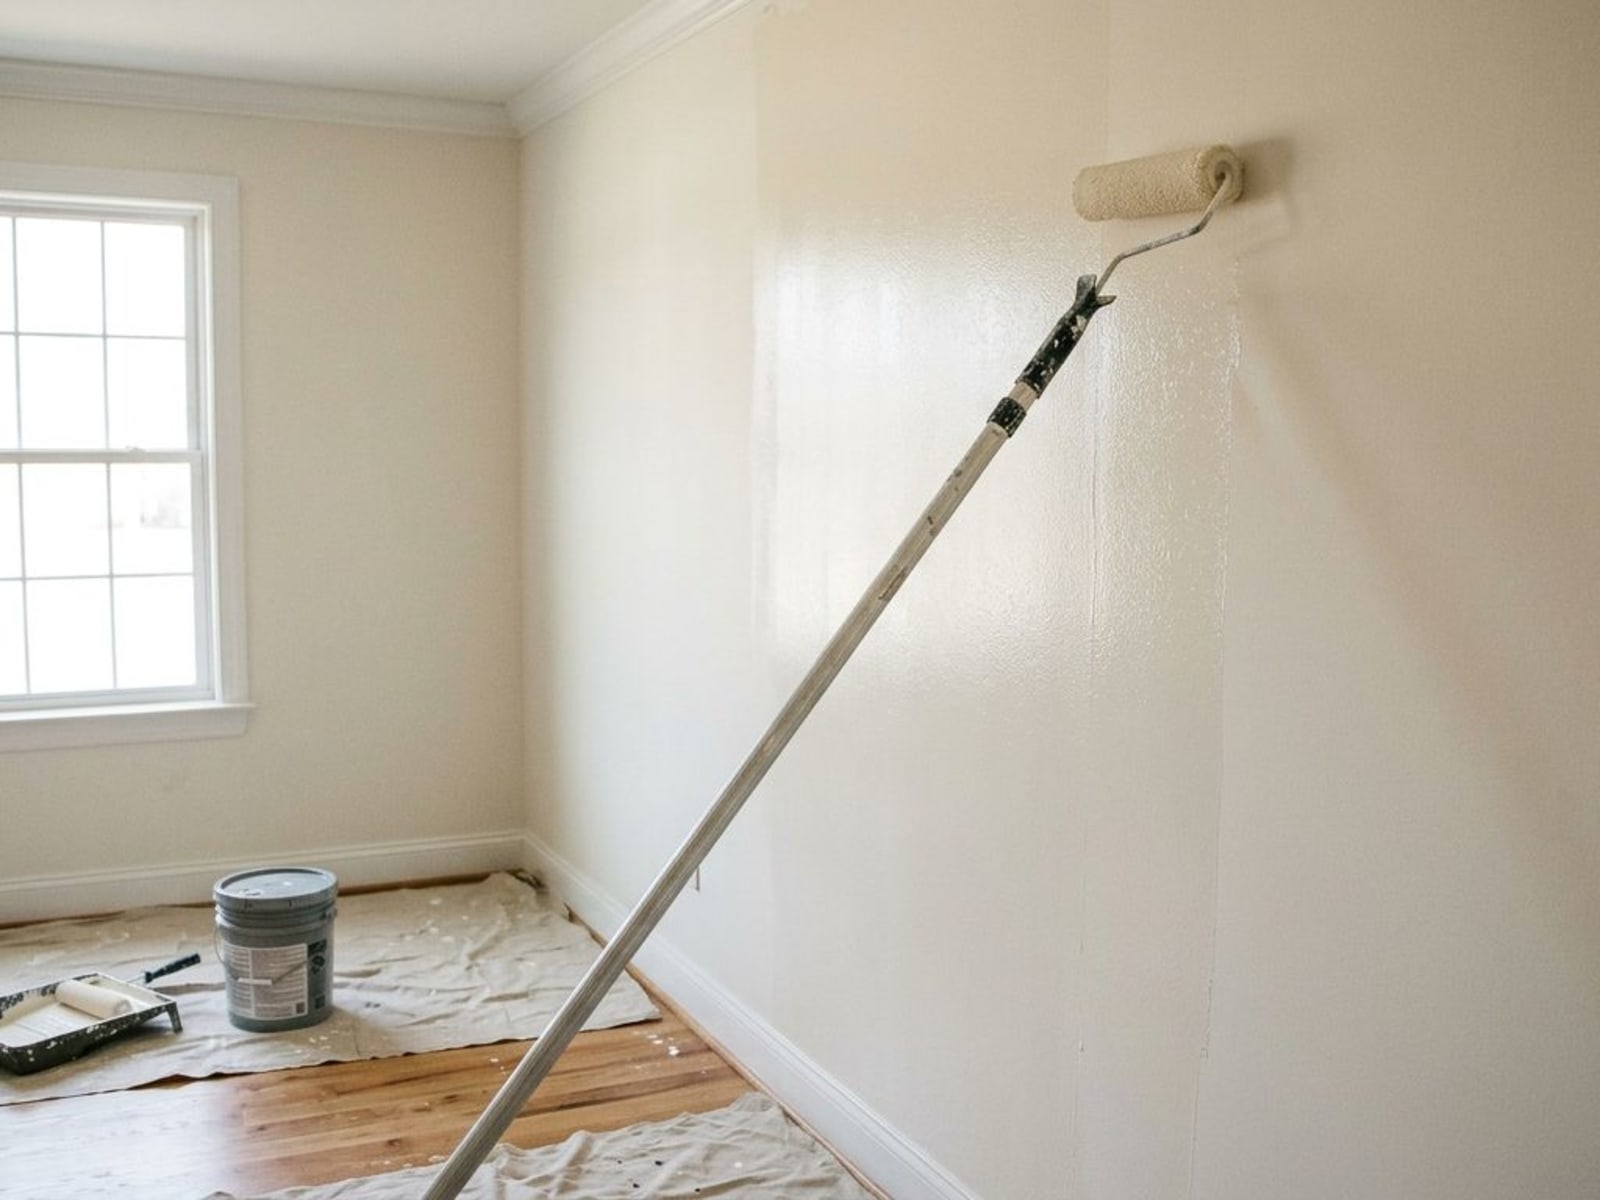
- Lay off. After about four square metres, lay off the section with light pressure in long strokes from near the skirting to the ceiling line and back, so the whole section finishes in the same direction.
- Keep moving. Work in full-height strips across the wall and roll each new strip back into the wet edge of the last one, overlapping it by a quarter to half the roller's length.
- Finish the wall. Do not stop partway across a wall. Break at a corner.
Two more habits help. Cut in one wall at a time, just ahead of the roller, rather than cutting in the whole room first and rolling later. And do not go back over a section that has started to set, even if you spot a thin patch. Leave it for the next coat.
Does sheen make lap lines worse?
Yes. Resene's guidance on gloss levels notes that glossier paints tend to highlight surface imperfections, while flat paints diffuse light and conceal them better. Lap lines and roller marks are mostly differences in sheen, so the shinier the finish, the more visible they are. Flat ceilings are forgiving. Semi-gloss in a hallway lit from the end is not. Our guide to choosing sheen room by room covers the trade-offs.
How do you fix it once it has dried?
Let the paint dry fully, then apply one more complete coat to the whole wall, corner to corner, using the method above. Do not try to touch up the stripes on their own. Painting over individual marks just adds new overlaps, and it is the overlaps that show.
If the marks are raised, such as ridges of paint along the edge of the roller path, give them a light sand with fine paper on a block first so the next coat is going onto a flat surface. If the wall was patchy because some areas soaked up paint more than others, that points to the surface underneath being unevenly sealed, and a coat of sealer or undercoat before the topcoat may be the proper fix.
This is genuinely a DIY-friendly repair. The one extra coat costs a tin and an afternoon. For more on the full process, see our guide to painting interior walls.
If you would rather have it done by someone who does it every day, ask us for a quote.
Related Articles


Need Help With Your Painting Project?
Wellington Decorators has been transforming homes across the Wellington region since 2023, led by a founder with 18+ years in the trade. As Registered Master Painters, we back every job with a 5-year workmanship guarantee.
Prefer to talk? Call us now 027 458 6465