
Prime when the surface is bare, stained, chalky, glossy, or a different material from what the topcoat expects. Over sound existing paint of the same type and a similar sheen, a primer is usually money you do not need to spend, and washing the wall properly will do more for the finish than a prime coat would.
That is the whole rule. What follows is where people get it wrong in both directions: skipping a primer on a surface that genuinely needed one, and paying for a full prime coat over paint that was already fine.
What does a primer actually do?
Three separate jobs. Knowing which one you need tells you which product to buy, because one tin rarely does all three well.
- Adhesion. Gives the topcoat something to grip on a surface it would otherwise slide off: gloss enamel, melamine, bare metal, some plastics.
- Sealing. Stops a porous surface drinking the topcoat unevenly. New stopping compound, bare timber, raw plasterboard and unpainted concrete all do this. Skip it and you get patchy sheen and a colour that reads differently across the wall.
- Blocking. Locks in something that would otherwise migrate up through the paint: tannin from cedar and other timbers, rust from nail heads, water stains, smoke, nicotine.
If you cannot say which of the three you are buying, you probably do not need it.
Which surfaces genuinely need one?
| Surface | Primer needed | What kind |
|---|---|---|
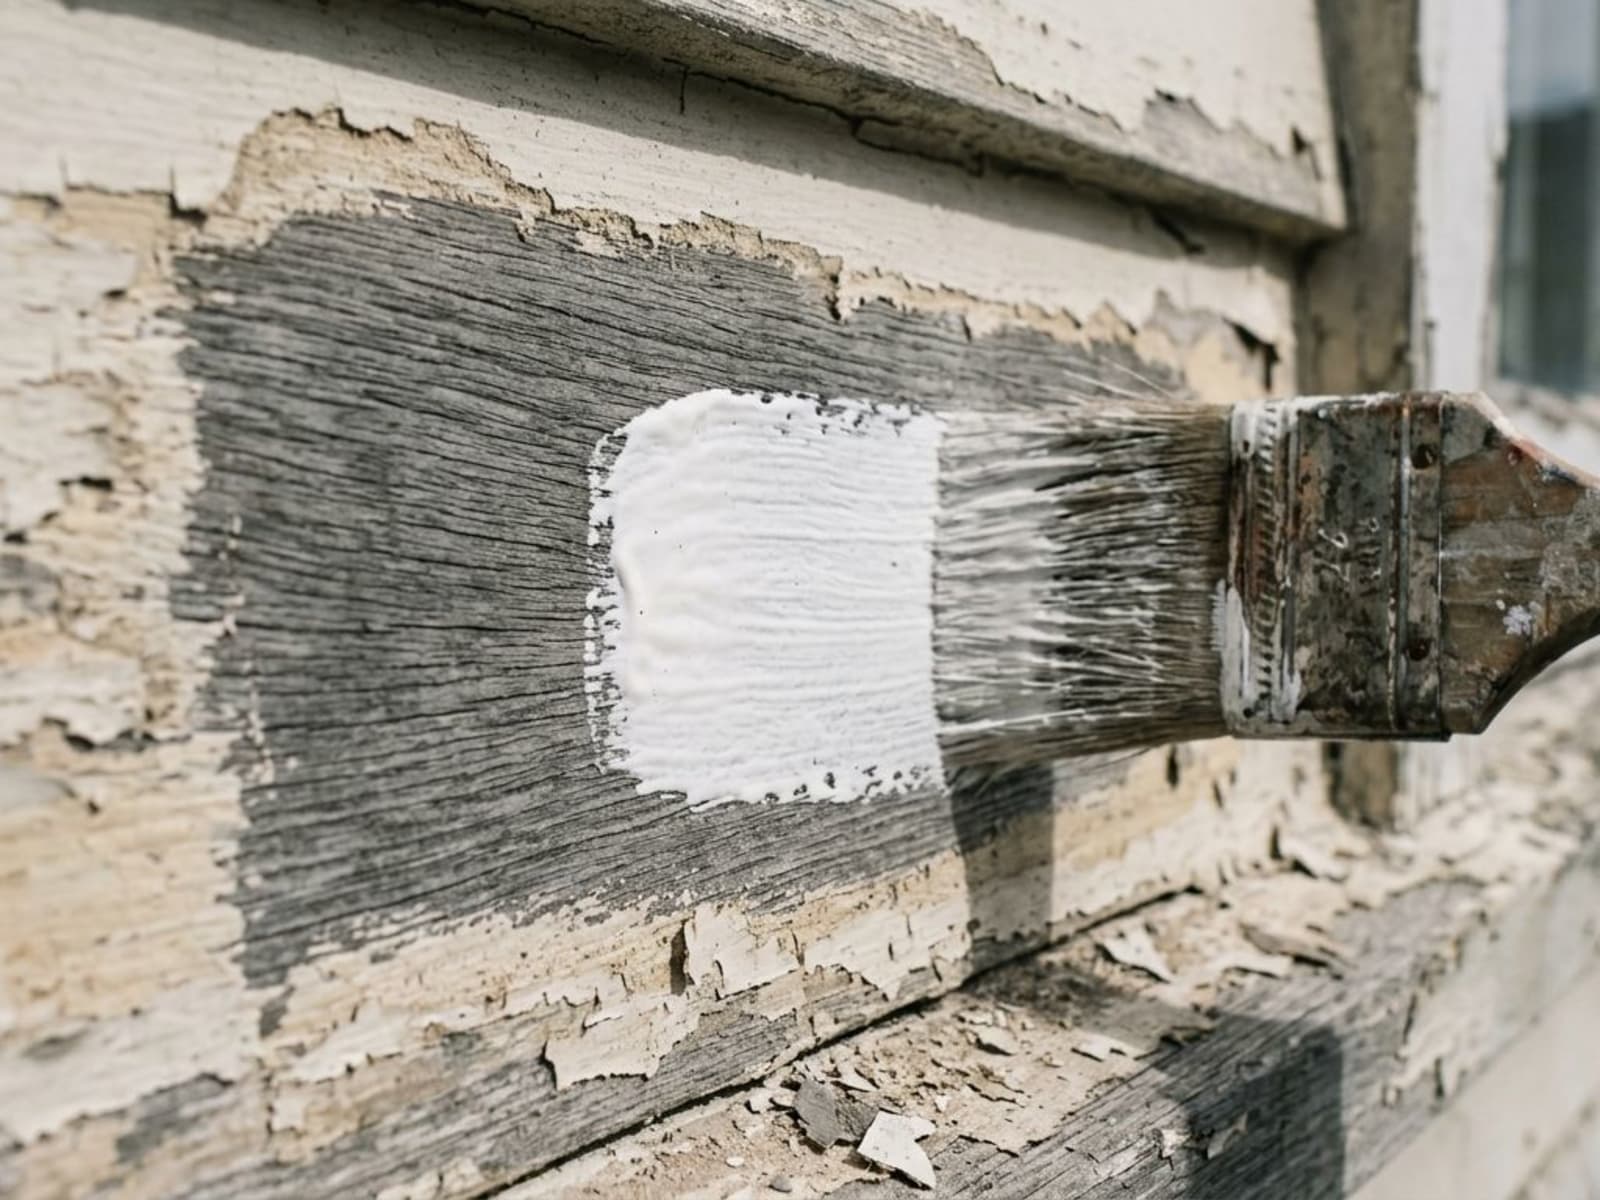
| Bare exterior timber | Always | Wood primer, including every cut end and the back of any replaced board |
| New plasterboard and stopping | Yes | Sealer over the whole sheet, not just the joints |
| New plaster or render | Yes, once cured | Alkali-resistant sealer |
| Sound existing acrylic, similar sheen | No | Wash, light sand, two topcoats |
| Existing gloss or enamel | Usually | Adhesion primer, or a thorough sand: see painting over gloss |
| Chalky weathered exterior | Yes, after washing | Penetrating sealer that binds the remaining chalk |
| Bare or galvanised metal, exposed nail heads | Yes | Metal primer matched to that metal |
| Water, tannin, rust or smoke stains | Spot prime | Stain-blocking primer, usually solvent-based |
| Bare concrete or block | Yes | Masonry sealer |
Notice how much of that list is about the surface being bare or different. That is the pattern. Primer is a bridge between two things that do not naturally bond. Where there is no gap to bridge, there is nothing for it to do.
When are you wasting money on it?
Four common cases.
- Sound existing acrylic, going acrylic again. Wash it, sand any nibs and gloss patches, and put your two coats on. A prime coat here adds a day and buys nothing.
- Repainting a ceiling that is only dirty. Unless there are stains to block, ceiling paint over ceiling paint needs no primer.
- Priming the whole wall for three small bare patches. Spot prime the patches, feather the edges, topcoat the lot.
- Priming a colour change. A tinted undercoat can genuinely reduce the number of finish coats when you are going from dark to light, but that is an undercoat doing a coverage job, not a primer doing an adhesion job. If someone charges you for both on a sound wall, ask what each one is for.
Is paint-and-primer-in-one the same thing?
Not on the surfaces that matter. Self-priming paints are genuinely useful over sound, previously painted, lightly porous surfaces, which is exactly the situation where you did not need a primer anyway. On bare timber, raw plasterboard, gloss enamel, metal or a tannin-bleeding board they are not a substitute for a dedicated product. The label is describing convenience on easy surfaces, not a solution for hard ones.
What about stains that keep coming back?
If a mark returns through two coats, more of the same paint will not fix it: water marks, rust from nail heads and tannin from cedar all need a stain-blocking primer, and the leak or the corroded fixing has to be dealt with first. The two that come up most often here have their own answers, in rust stains at nail heads and tannin bleed on cedar.
How do you tell whether existing paint is sound?
This is the judgement the whole decision rests on, and it takes about two minutes on the wall itself rather than from the footpath.
- Push a scraper at it. If an edge lifts, the paint is not sound and no primer will rescue it. Strip back to where it holds.
- Rub a dark cloth across it. Chalk coming off on the cloth means the surface needs washing and then a sealer that binds what is left.
- Press tape on firmly and pull it off. Paint coming away with the tape is an adhesion problem, not a finish problem.
- Look at it in raking light. Fine crazing across the surface means the film is near the end of its life even where it is still stuck down.
Sound paint takes a wash, a light sand and two coats. Anything that fails those checks is a preparation job first, and the primer question only comes up afterwards, once you know what surface you are actually painting.

Does an older Wellington house change any of this?
It changes the timing more than the product choice.
Once you scrape a weatherboard wall back, bare timber is exposed to a climate that will not wait for you. Wind-driven rain wets end grain and open joints quickly, timber swells, and a primer applied over damp timber seals the moisture in rather than out. On south and west walls, which take the worst of it, bare timber should be primed the same day it is exposed wherever the weather allows, not left over a wet weekend.
On a house built in the 1980s or earlier, WorkSafe's guidance is to presume the paint contains lead. Have it tested, and until you have, dry power sanding to get back to a sound edge is out. Wet scraping, sheeting to catch debris and proper respiratory protection are the practical answer, and they add time to the preparation stage of any exterior repaint on a character home here.
Inside, new linings are the other common trigger. Fresh stopping compound is far more absorbent than the surrounding board, so a wall that has had plastering and stopping work must be sealed across the whole surface. Sealing only the patched areas gives you a wall where every repair shows as a different sheen under a side light, which in a Wellington villa with low winter sun raking across the wall is very obvious.

What goes wrong if you skip one you needed?
Rarely anything on day one. That is the trap. Paint over unprimed gloss looks perfect until something knocks it and a sheet lifts off in one piece. Paint over unsealed stopping looks fine until the light changes. Paint over bare exterior timber looks fine for a season and then starts flaking along the board edges where water got in behind it.
The cost of the primer is one tin and a few hours. The cost of skipping it is the whole job again, usually within two or three years, plus the scraping to remove what failed. That is the entire argument for priming, and it is also the argument against priming surfaces that did not need it: the same money spent on better preparation, or on fixing the gutter that caused the problem, does more.
If you are not sure which category your walls fall into, we will tell you which surfaces need sealing and which do not before any work starts. Ask us for a quote.
Related Articles


Need Help With Your Painting Project?
Wellington Decorators has been transforming homes across the Wellington region since 2023, led by a founder with 18+ years in the trade. As Registered Master Painters, we back every job with a 5-year workmanship guarantee.
Prefer to talk? Call us now 027 458 6465