
Most weatherboard repaints need scraping and hand-sanding of the failed areas only, not the whole house sanded. Sound, well-bonded paint usually needs a thorough wash rather than sanding, and machines are for feathering larger repaired areas, where in the wrong hands they gouge old timber and throw dust that may contain lead, so test for lead before any sanding starts.
The common mistake runs both ways: sanding sound paint that did not need it, and skipping the edges of failed patches that did.
What is sanding actually for on a weatherboard?
Three jobs, and only three:
- Cleaning up after scraping. Scraping removes loose paint; sanding takes off the last loose remnants and roughened fibres so the primer sits on something firm.
- Feathering edges. Where paint has come off, there is a step between bare timber and the surrounding sound paint. Sanding that step down to a smooth taper is what stops every repair showing through the new topcoat.
- Keying a hard, glossy surface where the data sheet for the new paint asks for it.
It is not for taking sound paint off. Every layer you sand away is protection you then have to rebuild with primer.
Resene's guidance for weatherboards in good condition is to scrub off the worst of any flaking paint, then sand those areas with 120 to 150 grit paper so the edges are feathered before spot priming. It also says some of its exterior acrylic topcoats are formulated to adhere to aged paints, including old enamels, without extensive sanding of otherwise sound paint, provided loose contaminants and mould are removed first. That is one manufacturer's statement about its own products, so check the data sheet for whatever paint you are using.

Hand, orbital sander or not at all?
| Method | Good for | Watch out for |
|---|---|---|
| Scraper plus hand sanding block | feathering edges, nail heads, board laps and profiles, small repairs | slow on large areas, but gives the most control |
| Random orbital sander with dust extraction | feathering larger flat areas after scraping | rounds over crisp edges, cuts through to bare timber quickly, and makes dust |
| Belt sander or grinder with a sanding disc | very little on a painted house | digs in, leaves marks that show through paint, and throws a lot of dust |
| Mechanical stripper or carbide scraper | removing badly failed paint quickly | Resene notes these are fast but carry a risk of gouging the timber |
| No sanding | sound, clean, well-adhered paint | only if the new paint's data sheet allows it over aged paint |
For a typical repaint, the answer is a scraper and hand sanding on the failed areas, an orbital sander for larger feathering if the paint is lead-free, and nothing at all on the sound paint beyond washing.
Where do machines do the damage?
Weatherboards are not flat panels. Bevel-back and rusticated boards have a lap edge, a shadow line and a profile, and a sander held flat on a curved face bears down on the high point. On old timber, the softer growth between the harder grain lines wears away first, leaving a ribbed surface. Once the machine is through the paint, it is sanding timber, and it does so fast.
The results are predictable: rounded-over edges where the paint film then thins out, flat spots on profiles, and swirl or chatter marks that the new paint shows up rather than hides. On a heritage villa, that is detail you cannot get back.
If the timber under failed paint has gone grey, soft or furry from exposure, that loose surface needs to come off until the wood is firm, and it needs priming promptly. That is a job for hand sanding and careful judgement, not for a belt sander.

Why does the lead test come first?
Because sanding is the step that turns old paint into dust. Homes painted before the 1980s may contain lead-based paint, and you cannot tell by looking, so have it tested before sanding or stripping. On a positive result the power sander stays in the shed, the ground gets sheeted, and the scraping and sanding are done wet.
What has to happen straight after sanding?
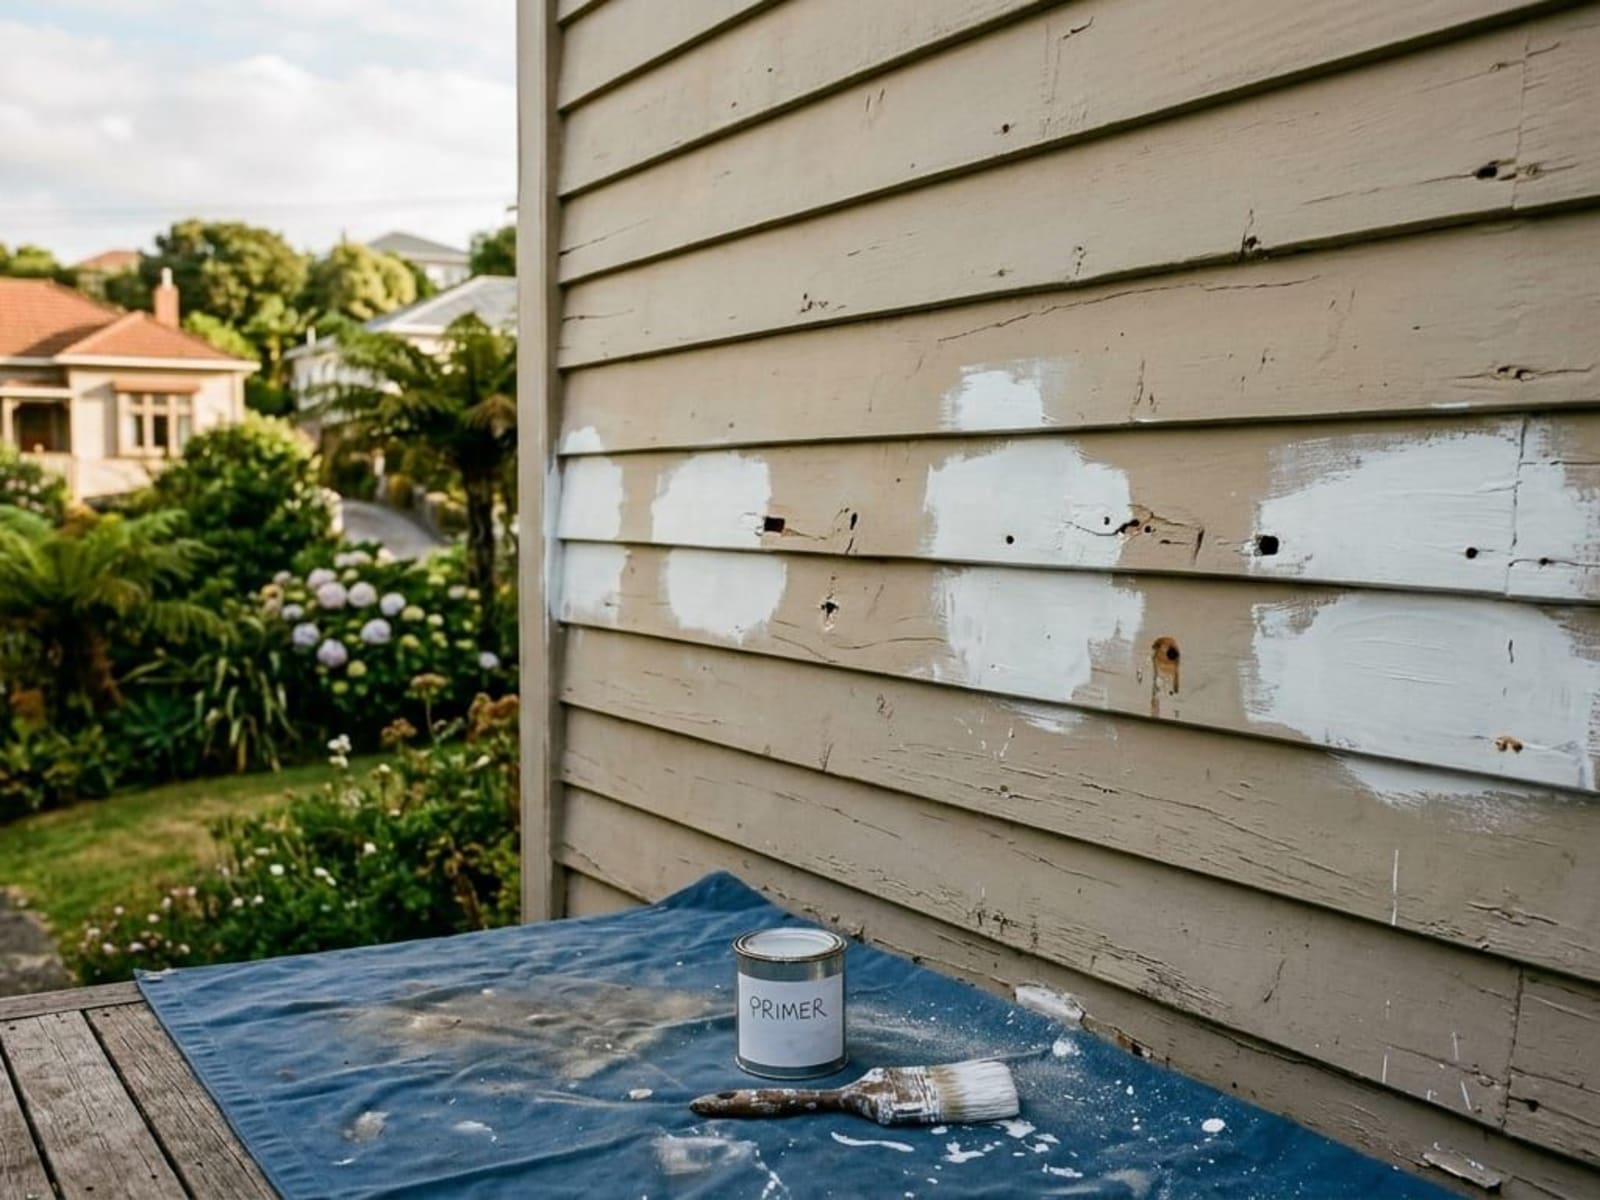
Priming. Resene's advice is to prime the same day, because overnight dew creeps under freshly sanded paintwork and the edges curl and lift. That is why good preparation is planned one section at a time: scrape, sand, dust off and prime a wall or part of a wall, then stop. Sanding a whole house over a weekend and priming it the following week undoes much of the work.
Filled areas get their own light sand once the filler is hard, then a spot prime. Resene suggests 220 grit for sanding filled areas. Our note on when you need a primer covers what goes on next.
When is a scrape and spot-sand enough?
- The paint is failing in patches, mostly on the most exposed elevations, and the rest is firmly stuck.
- The surface is chalky but intact. That needs a proper wash, not sanding.
- The failures are at nail heads, joints and sills rather than across whole boards.
A bigger strip is justified when the paint is cracked and lifting across whole walls, when layers are coming away in sheets, or when there is so much film build that new paint keeps failing on top of it. That is a different job with a different price, and the decision is best made wall by wall rather than for the whole house.
Our weatherboard painting guide covers the wider repaint.
If you would rather have someone look at the boards and tell you how much preparation they really need, get in touch.
Related Articles


Need Help With Your Painting Project?
Wellington Decorators has been transforming homes across the Wellington region since 2023, led by a founder with 18+ years in the trade. As Registered Master Painters, we back every job with a 5-year workmanship guarantee.
Prefer to talk? Call us now 027 458 6465